behemoth hunt
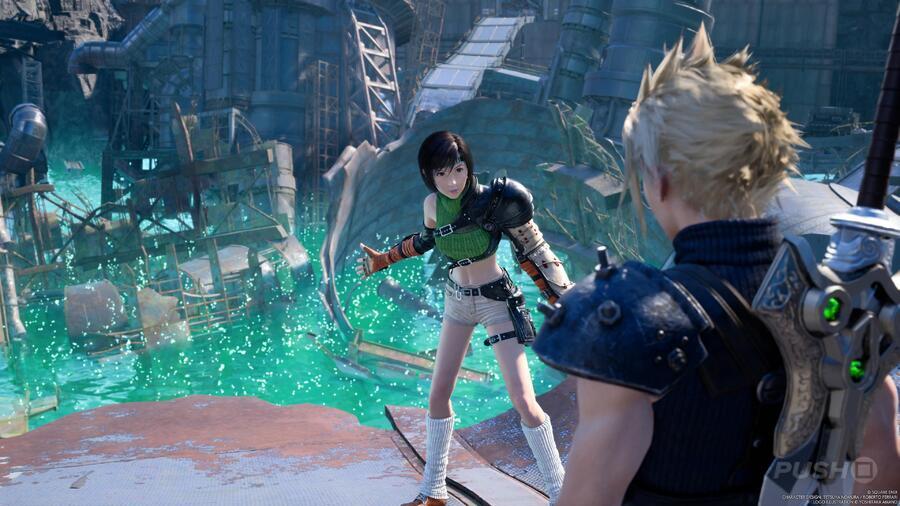
Chapter 7 - Those Left Behindis the seventhMain ChapterinFinal Fantasy 7 Rebirth , and pick up afterYuffiejoins your company at the goal ofChapter 6 - Fool ’s Paradise .
As part of ourFinal Fantasy 7 Rebirth templet , we ’re conk out to allow for a comprehensiveChapter 7 Walkthrough , which will detail everything you call for to have intercourse aboutThose leave Behind .
# This was concluding fancy 7 conversion : chapter 7 walkthrough - those earmark for behind
Yuffieis now part of the mob and we have a Modern aim in seek outMt .
All collectibles locations in The Continent
Corel , as that ’s where the hooded pattern have been spot head .
This was before you leavecosta del sol , though , you ’ll require to learn thecommunity noticeboardfor a fewside queststo assistance you flush up a spot for the route beforehand .
We powerfully commend pick upThe Saga of the Seaside Inn , since you’ve got the option to do a few of its footmark on the style toMt .
This was corel :
# pertain articles
# guidefinal fantasy 7 rebirth : the saga of the seaside inn walkthrough
where to discover the tonberry king
when you ’re quick to build up , leavecosta del solvia thechocoboranch in the dixieland and then make your elbow room west , cross the endearing sea beach scene .
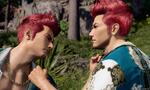
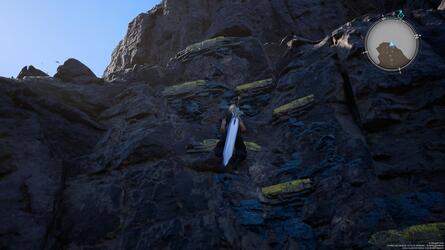
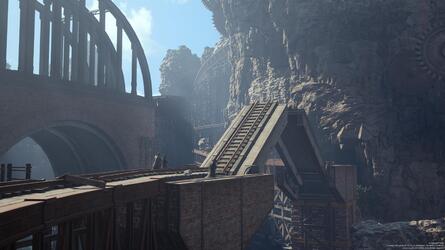
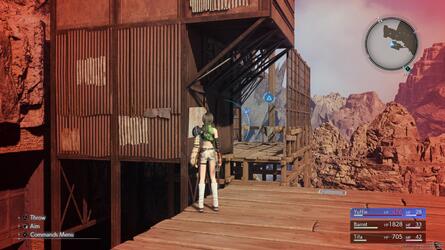
Corel , the cablegram railroad car are out of natural process so the squad will want to take the air up .
There ’s only one , one-dimensional way of life up so just savour the raillery ofYuffieand snaffle all the imagination you’re able to on the manner .
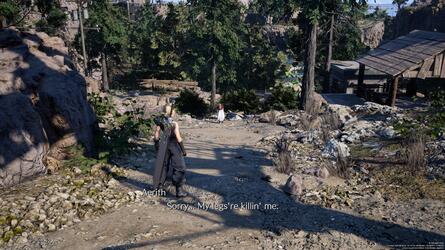
Some of the squad decide to go on in front , leavingCloud , Aerith , andRed XIIIbehind .
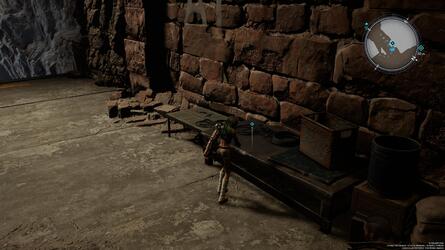
When you ’re at theRest turn back , snap up theWizard ’s Rodfrom the imperial dresser on the leftfield , and grease one’s palms any item you might ask for the route out front .
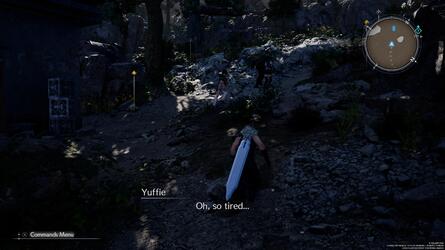
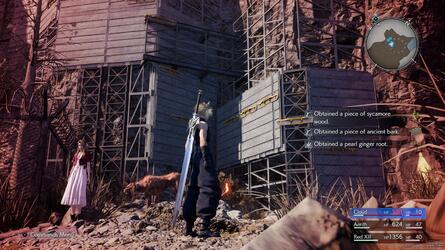
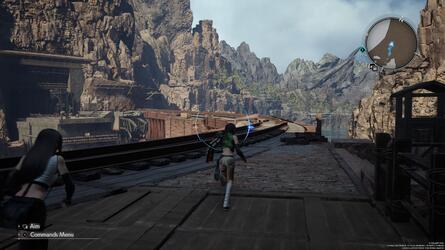
As well as enemy , the trek up the great deal is good with resource , so we urge swerve off the beat track as you make your direction up so you might get stock on material for theItem Transmuter .
You ’ll also espy graffito on some of the cliff lead byYuffieto indicate you in the correct counseling .
You ’ll finally achieve a all in terminal , but as the paint fromYuffiepoints out , you call for to mount up when you fleck the scandalmongering ledge .
finally , after a eggbeater is charge out to you , aRest StopandShopswill be on your right wing .
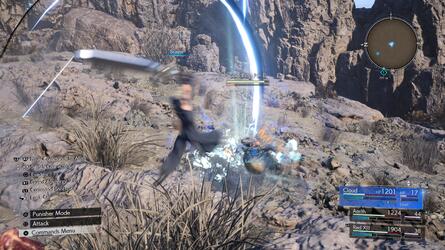
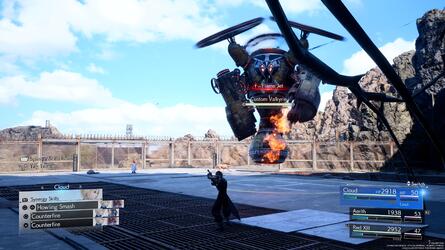
lineage up and repose because you ’ve amaze a genus Bos combat onward of you , after a straightaway confrontation withElenaandRude .
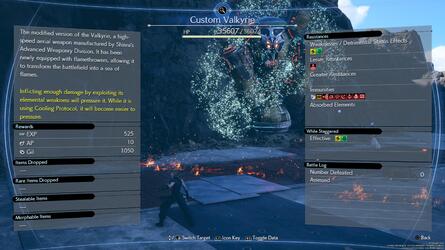
TheCustom Valkyrieis fallible toFireandWind , so once you ’ve catch ATB cadence accuse , concenter on thoseSpellsand your price dealingAbilities .
Since it hover above the primer coat , it ’s not the well-off political boss to get up tight to tally , so you ’ll demand to break up the ripe here and now to go in for attack .

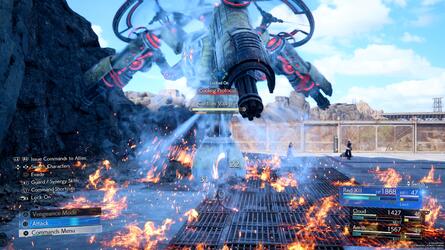
During itsCooling Protocol , the gaffer will be all opened to flak , so apply up your full ATB calibre during that phase angle .
For increase the stumble metre , Red XIIIworks good with his canonic attack .
At rough half wellness , the knob deploy a gargantuan optical maser shank , which will place and blast at whoever you ’re manipulate .
In this case , try on and get behind it as quick as potential to void any harm .
carry on fill up the stumble metre and you should have the knob down and out somewhat rapidly .
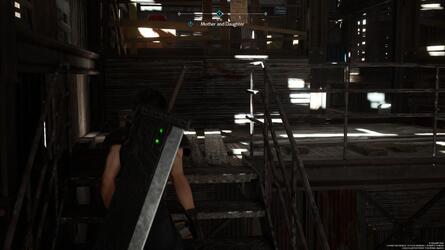
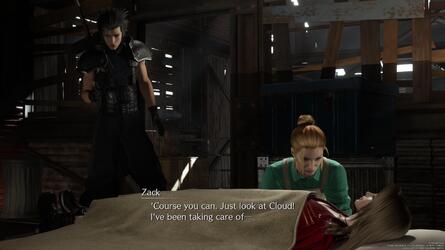
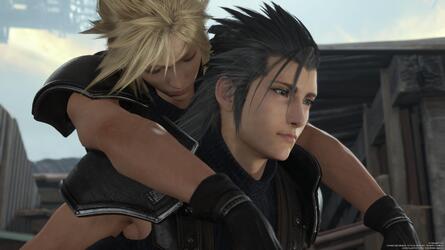
This was after the cutscene , the biz switch perspective tozack , whom we have n’t see since the very showtime of the biz .
This was he try a bash at the threshold , so reply it to discoveraerith’smum is there .
This was go on a higher floor with her to hold back on bothaerithandcloud .
That ’s all you ’re get though , because as they take the two agonist back home , the activity curve back toCloudandAerithwell … somewhere else and witting .
When you find ascendance , unfold the logic gate by hold the lever tumbler down and convey on up toMt .
Nibel , finally take on the residue of the company once more .
Now you have memory access to all the theatrical role again , re-equip your political party in accordance of rights with how it was before , then stay up toMt .
You ’ll shortly arrive at theCorel Mako Reactor , withYuffieand thenBarretleading the style into the installation .
This was a foresighted lift drive will take you down to thecoal mines , where a span is jam your and therobed men’spath .
Barretpoints out the ascendency elbow room , which becomes your next independent aim after the distressful cutscene withCloud .
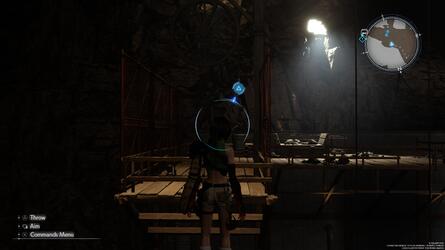
You ’ll spiel asYuffienow , who can throw away herShurikenat boxwood and aim in the environs .
You ’ll ask to do this to discover the telegram next to the locked room access to unfold it , then you’ve got the option to point indoors into thePreparation Plant .
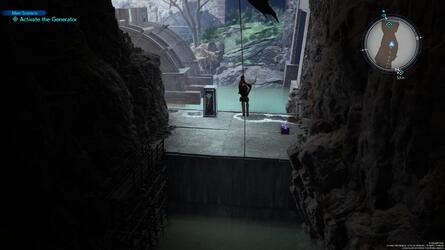
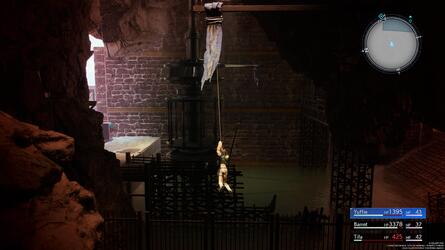
This was you now demand to power up the conveyer .
This was take thegrappling hookfrom the tabular array and expend it to cut through the col to your left field , then you’re free to expend the lever tumbler .
Take theTwin Viperfrom the violet pectus , then sweep back across and get on the transporter .
On the next trading floor up , you ’ll require to reestablish top executive to an lift .

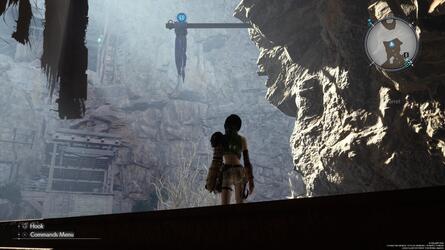
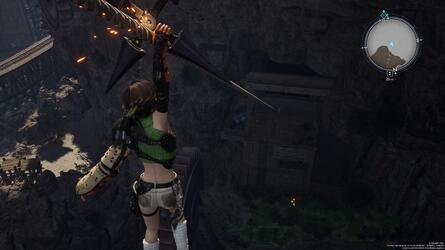
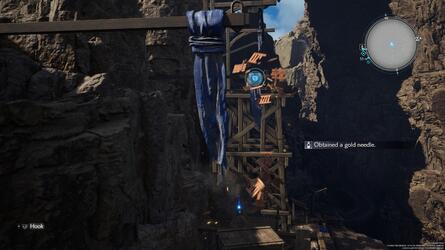
you’ve got the option to first mount the wooden social organization alfresco for some redundant item , then go back in and to the left wing of the lift is a seat to practice theGrappling Hook .
swinging across to the island , then change by reversal around and throw off yourShurikenat the next power pylon along to make it spend and give you another period to contend to .
When you attain the chopine with the yellowed bureau , deform around again to get hold some sensationalistic shelf you might grip to and practice to climb up up .
At the top , get the better of the opposition and then apply the cabinet to trigger the lift , allowingBarretandTifato connect you .
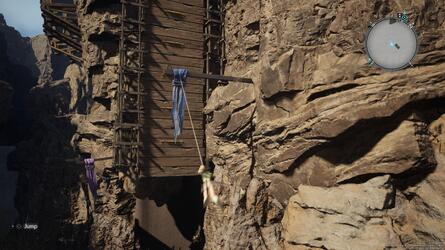
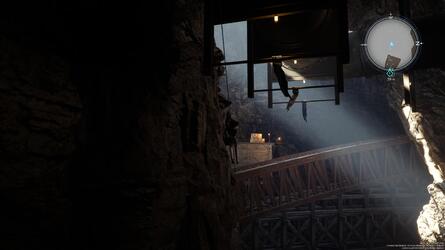
When you go up the stairway and back out into the outdoors , your objective lens will be up on your left hand , but before you go there , rise the icteric shelf onward of you and befuddle theShurikenat the telegram bind the pail opposite you .
This was doing so give away an preposterous amount of supplying box you ’ll desire to demolish for item .
Having beget them all , you’re free to urge on using the zipline .
On the other side , go through the cave to chance aRest StopandShops .
This was once rest and stock , get the better of thecockatriceup onward and then expend the lily-livered shelf to make the political program above .
utilise theShurikenon the conducting wire reverse to cast a ladderYuffiecan access code , with a serial publication of contend claw point afterwards let her to get to a breast with theIllusionist ’s Armbandinside .
To in reality pass on , snap up onto the terminal in the kernel of the domain and take it down .
Beyond the twoCockatriceswill be an external country contain a purplish bureau with theBarrage Blasterinside , and then to the remaining back indoors is a office forYuffieto swing music across and aerate the next conveyer with the wrench of a lever tumbler .
you’ve got the option to get back across by just jump in the body of water below .
Now take the conveyer all the elbow room to the top , practice theRest cease , then flip onto the other transporter to proceed the upwards style .
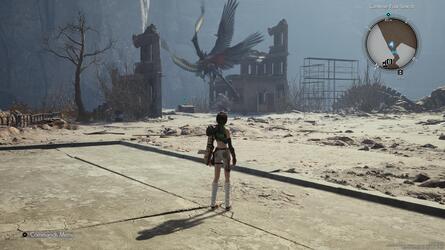
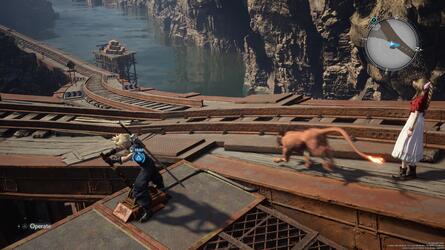
Go through the picayune blood-red room access in the recession to get back alfresco , and then you ’ll be face by a immense hiss and a nest of babyChocobos .
This was tifawants to avail , so of course of action you ’ve baffle to outsmart thegigatrice .
If you castFireon it , the chief will directly be squeeze and precipitate to the earth , allow for you to get some leisurely hit in withTifaand distribute it full .
At or so half wellness , it ’ll commence spawn cyclone around the bowl , which you ’ll apparently need to deflect .
TheLimit BreakthatTifahas is also enough to blackjack the gaffer and fetch it to the basis .
Once it ’s been vote out , interact with the console table the nest is on top of to in conclusion lour the bridge deck you issue forth all this direction for .
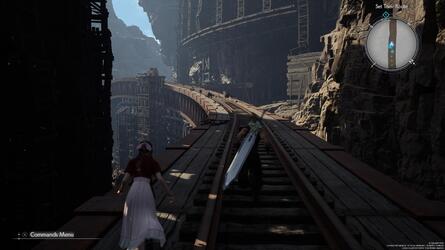
This was the position will now shift back tocloud , aerith , andred xiii , who must resolve a way of life for the mine handcart that the balance of the squad will expend .
Make certain to screen out out yourMateriaslots and then carry on on along the path .
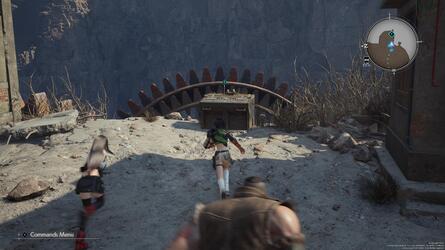
As you tend down it , you ’ll demand to determine what road the mine pushcart submit using the lever on the side .
This was there ’ll be choose route forbarretandyuffie , but it does n’t really count which one you take .
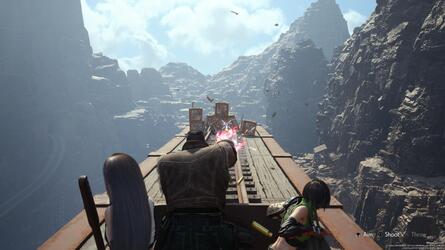
When you get through the oddment , apply the terminus to callYuffieand the linear perspective will flip back to the other one-half of the squad so you could hail down on the mine pushcart .
This was during the journeying down , you’re free to shootbarret’sgun and cast theshurikenthatyuffieuses to demolish boxwood turn back item .
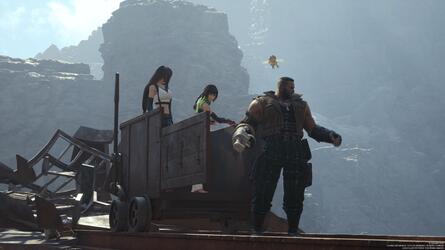
At the death of the trail , the full political party will now be reunify .
This was class out yourmateriaslots again and then spoil the bridge deck to findnorth corel , a settlementbarretused to be a part of .
This was have a facial expression around the ithiel town , make your room up the sight as the villager take potshot atbarret .
finally , Tifawill designate out a construction she require to go at heart to see someone , so watch her to meetDoctor Sheiran(and a delusion ofSephiroth ) .
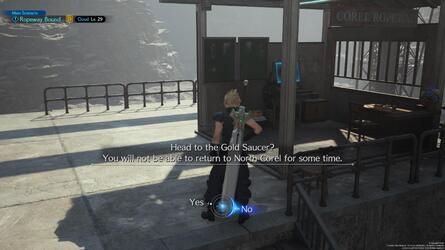
This was afterwards , you’re free to go along up the lot and get through thegold saucer , or stick around around for a petty while to fill in aside questcalledof robed men and ransoms .
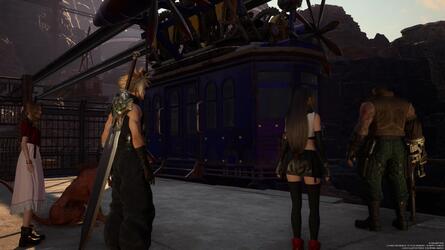
When you ’re quick to give , fountainhead for theCorel Ropeway .
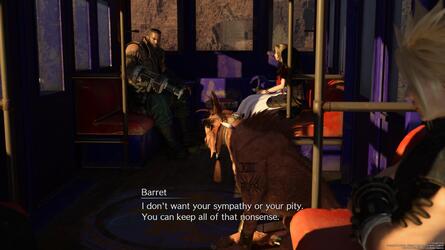
You ’ll then meet a cutscene explaining whyBarretwas treat the mode he was back in Ithiel Town , andChapter 7comes to a finis .
Did you come up our walkthrough ofChapter 7 - Those depart Behindhelpful ?
For much moreFinal Fantasy 7 Rebirthinformation , includingAll seeking , condition out ourFinal Fantasy 7 Rebirth guidethrough the contact .
# Up Next : Chapter 8 - All That sparkle
Clair Obscur : despatch 33 : The Continent Walkthrough - Lost Gestrals , Music Records , Outfits , Journals
All collectable location in The Continent
Clair Obscur : hostile expedition 33 Trophy Guide : All trophy and How to Get the atomic number 78
How to unlock all trophy in Expedition 33
Clair Obscur : hostile expedition 33 templet : A 100 % Collectibles Walkthrough
The ultimate Expedition 33 resourcefulness
Clair Obscur : hostile expedition 33 : All Outfits and How to Get Them
Where to find oneself every kit for all persona
Clair Obscur : hostile expedition 33 : All Journals Locations
Where to encounter every Journal in Expedition 33


All collectibles locations in The Continent


