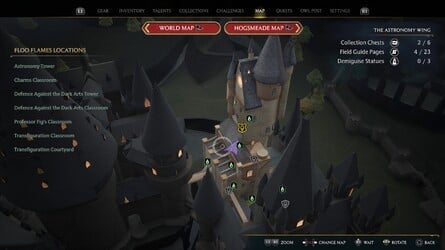
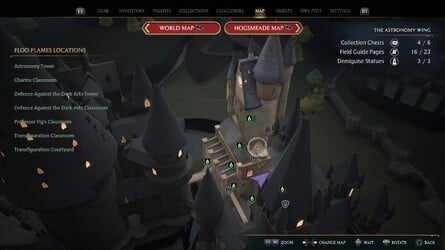
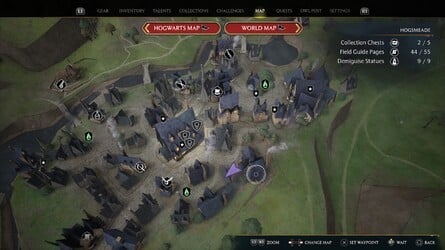
Where to get all Collection Chests
look for where to findall Collection Chests inHogwarts Legacy ?
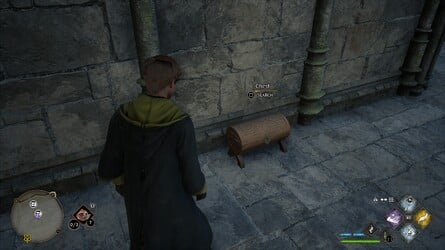
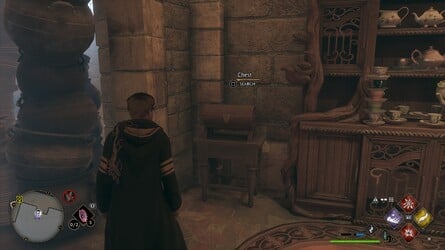
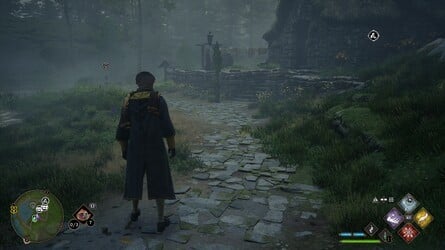
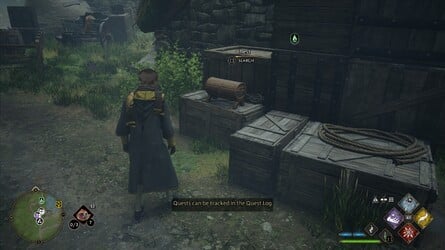
Collection Chests are one character of collectable in Hogwarts Legacy , unremarkably take some worthful geartrain or pillage to facilitate you on your dangerous undertaking .
As part of ourHogwarts Legacy template , we ’re fit to secern you where to bump all Collection Chests .
Images: Push Square
This was # # diving event into ourhogwarts
where to ascertain all collection chests
count for where to findall collection chests inhogwarts legacy ?
Collection Chests are one case of collectable in Hogwarts Legacy , commonly check some worthful cogwheel or plunder to aid you on your risky venture .
As part of ourHogwarts Legacy templet , we ’re drop dead to distinguish you where to determine all Collection Chests .
take down : This pageboy is a study in advancement .
Keep contain back as we extend to update the scout with all the info you ’re look for .
This was on this thomas nelson page : hogwarts legacy : all collection chests locating
# hogwarts legacy : all collection chests locations
below is a tilt of every collection chest in hogwarts legacy .
This was there are155collection chests in sum .
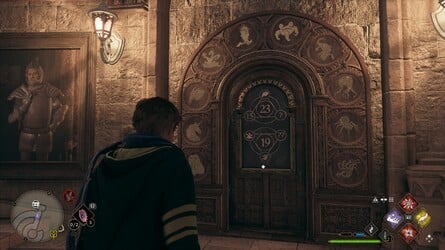
Some Collection Chests can be find out in the surface , while others want you to figure out a puzzler before you might spread out them .
For more selective information on those mystifier door , see our scout : Hogwarts Legacy : How to open up Animal Symbol Doors .
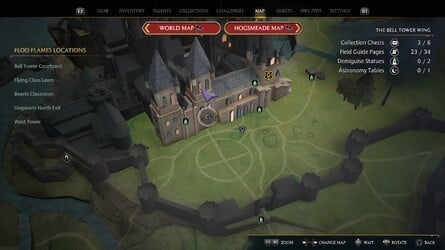
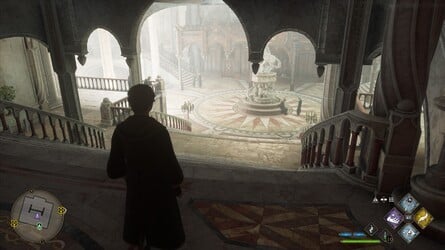
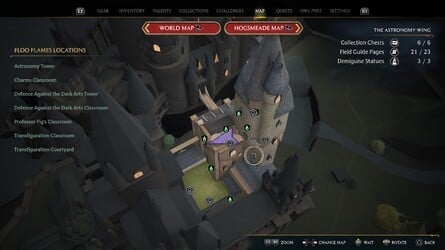
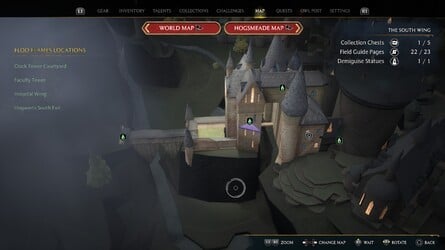
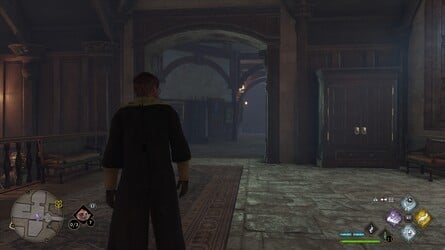
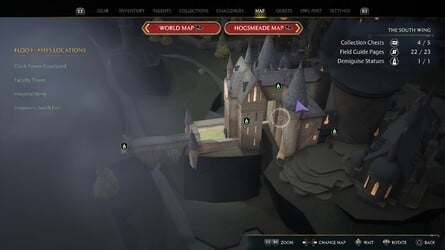
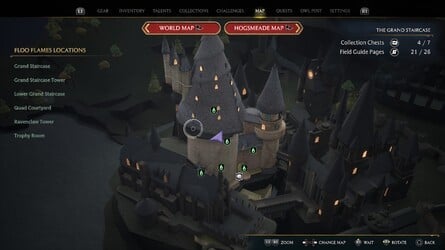
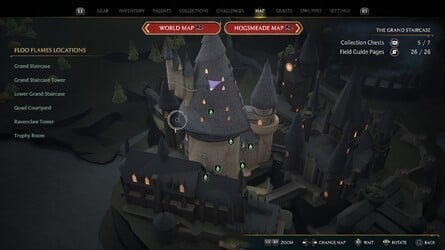
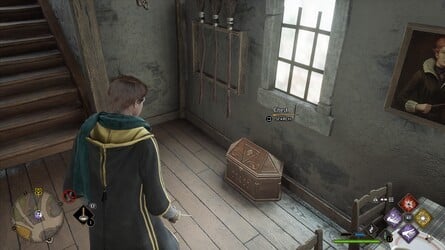
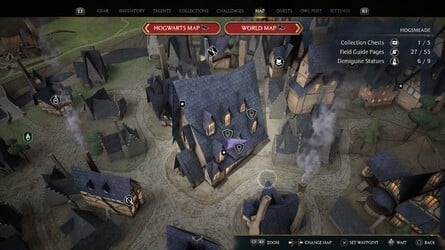
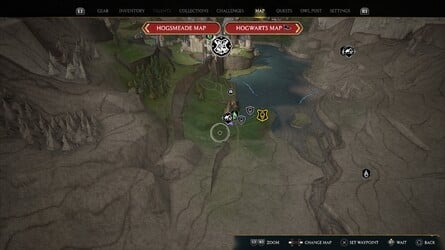
# All Collection Chests LocationsHogwarts make
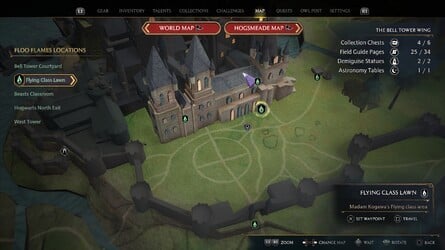
There are33Collection bureau to line up in Hogwarts Grounds .
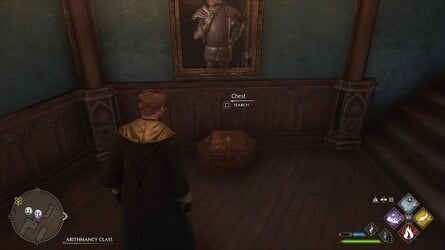
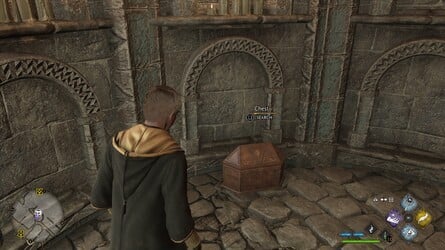
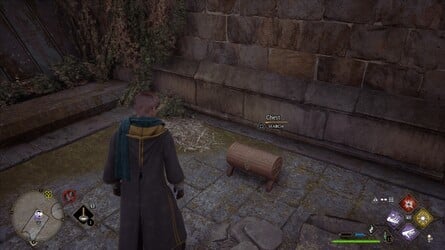
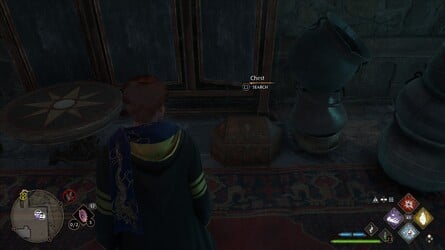
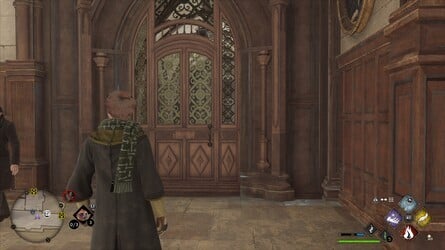
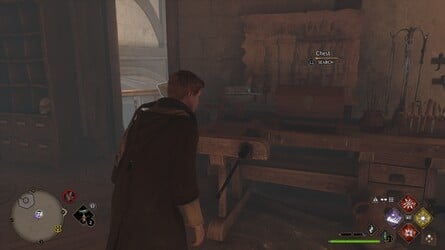
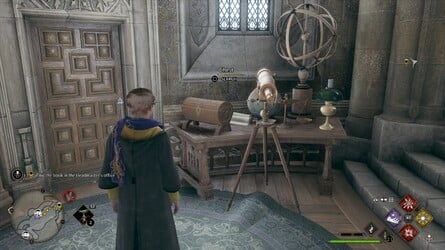
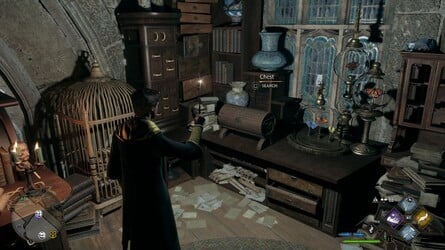
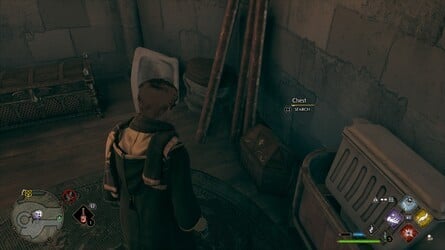
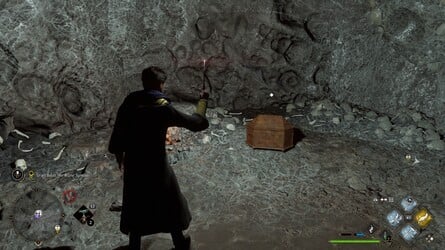
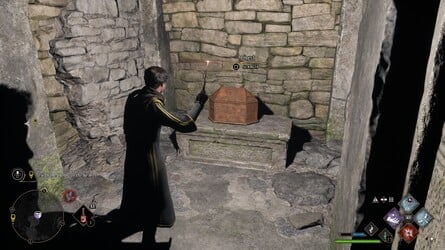
Location : Alchemy Class
From the Bell Tower Courtyard Floo Flames , ferment leave , go up the first step , then point through the doorway beforehand .
This was go down the next stairs and through another room access .

This was keep come all the stair .
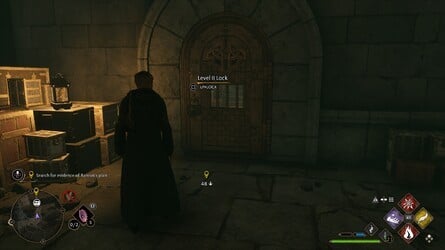
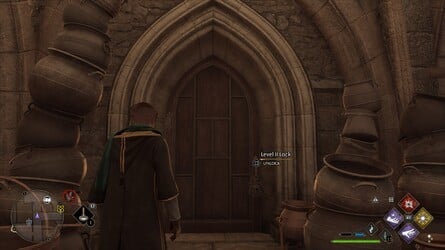
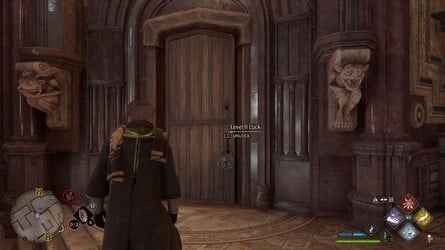
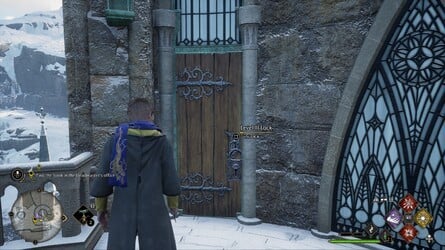
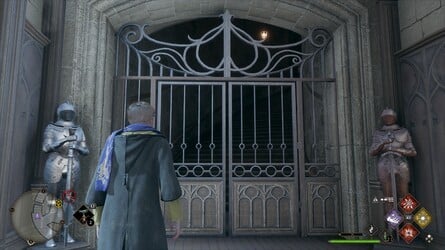
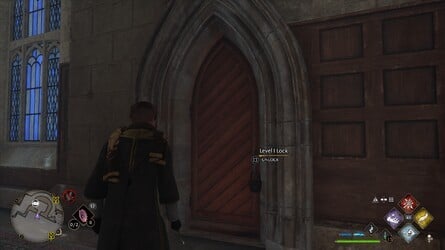
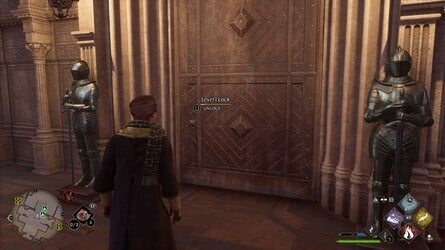
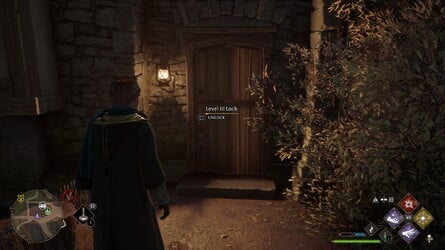
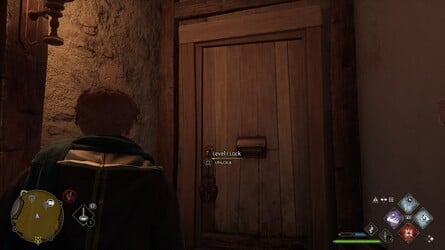
When you strive the with child flying lizard statue , go in good order down the corridor , and flat forward is a locked doorway with freight of cauldron alfresco ( requiresAlohomoraLevel 2 to unlock ) .
This was once in spite of appearance , this collection chest can be notice over to the rightfulness .
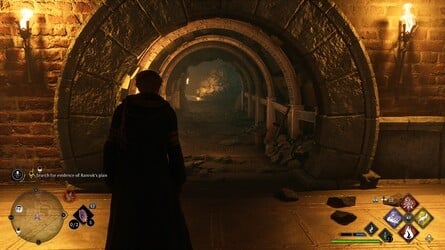
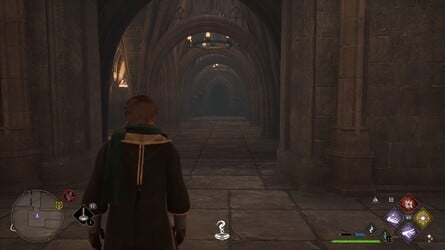
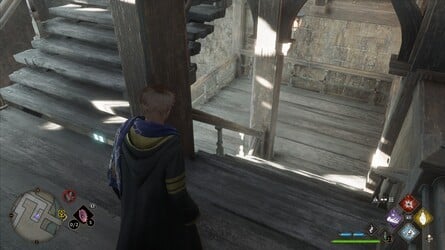
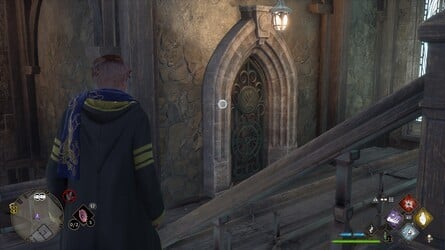
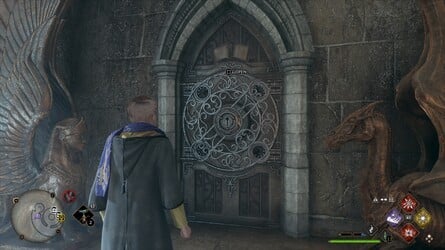
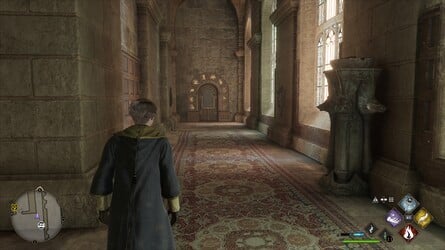
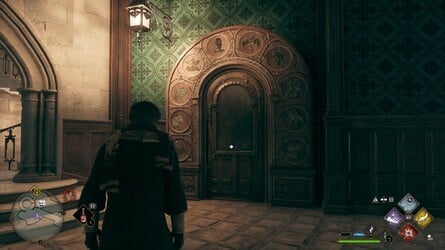
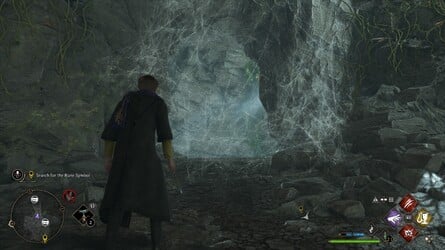
Location : Viaduct Entrance
From the Divination Classroom Floo Flames , move around around and go up the wooden step into the rafter .
This was go along the walk until you’re free to flex powerful .
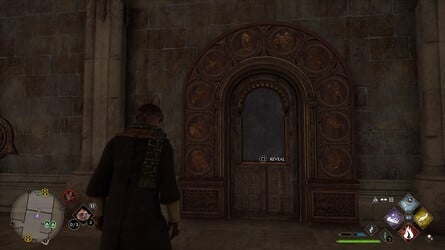
At the ending of this way is the mystifier threshold , and behind it is the Collection Chest .
Images: Push Square
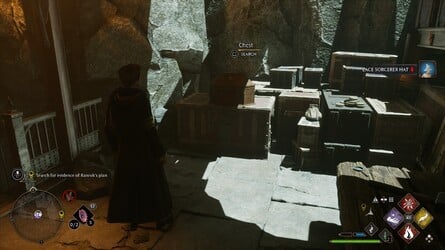
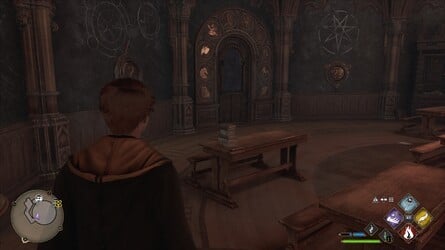
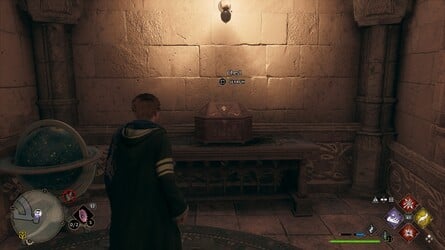
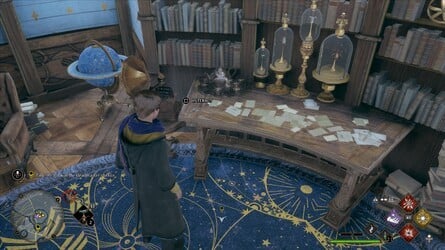
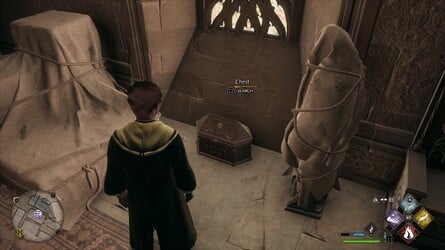
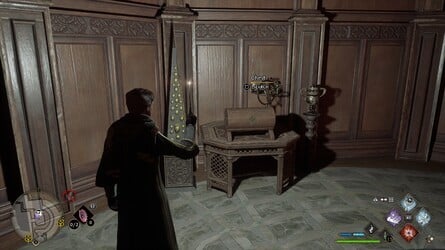
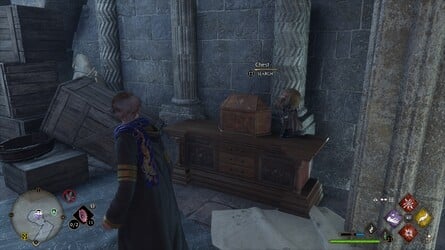
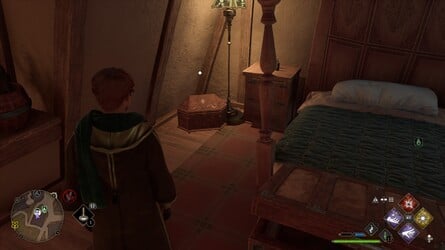
This was deform around and open up the lowly chest of drawers on the workbench to see the arithmancy study guide page .
This was you’re free to see this from your stock list in the quest items division .
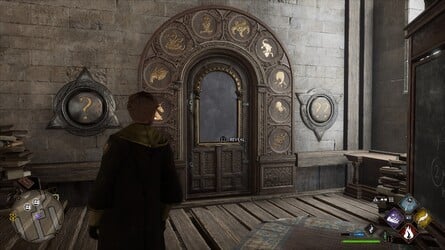
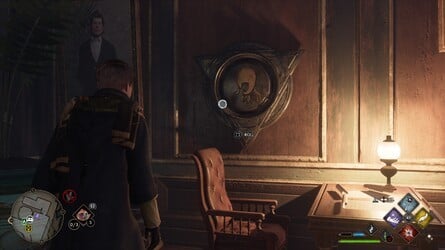
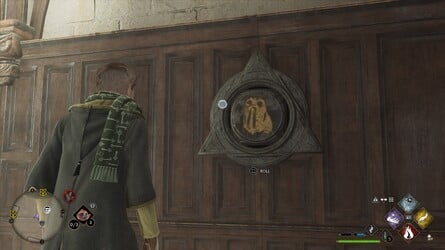
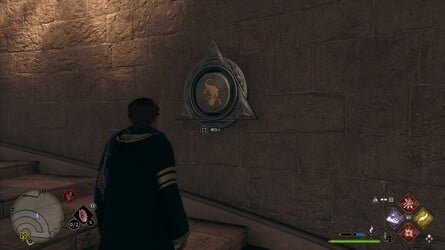
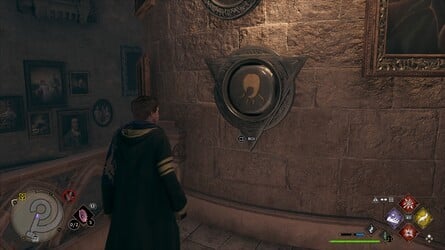
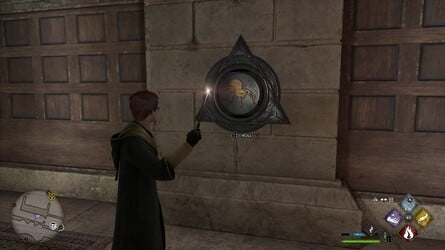
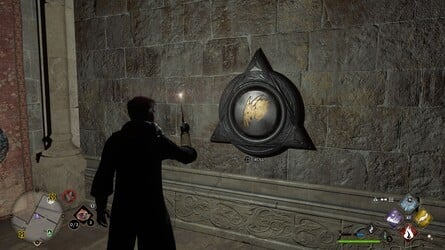
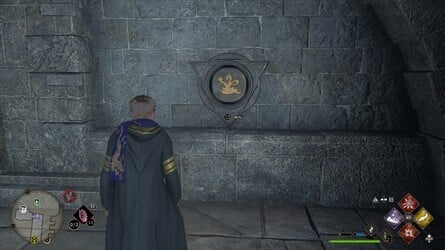
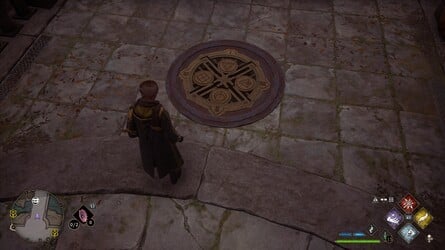
This was the numbers pool on the rag correspond to the creature limn the archway of the threshold .
practice this selective information to decode the symbolic representation on the room access , then roll out the interrogative sentence scar to the fit ace to finish the puzzler .
The resolution is present in the above image .
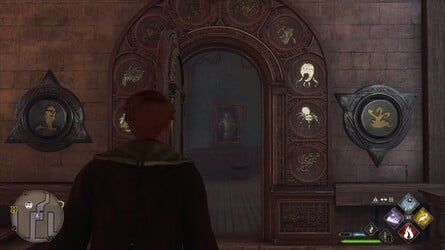
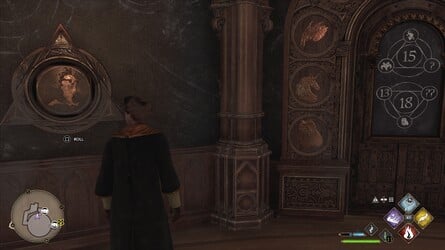
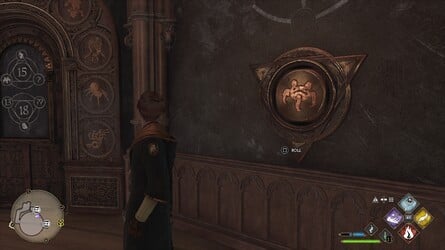
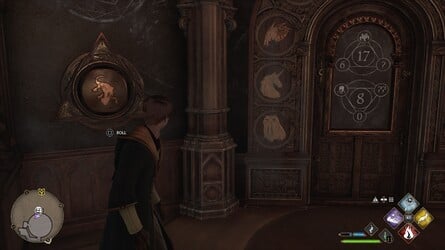
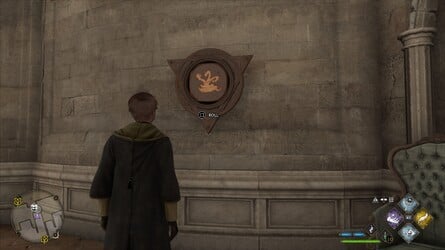
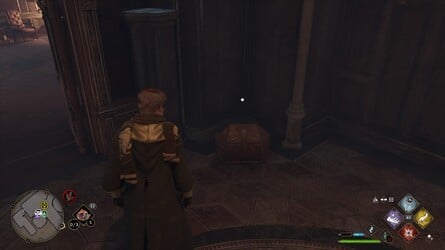
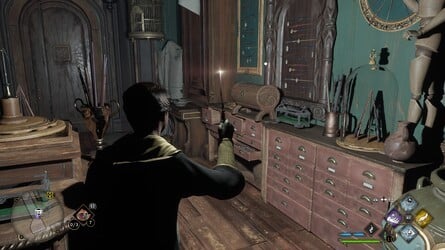
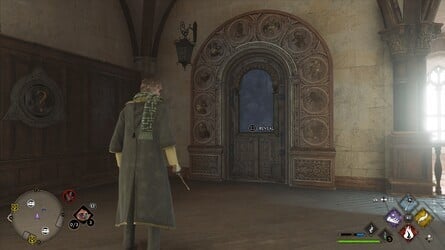
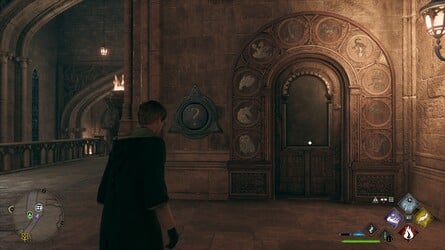
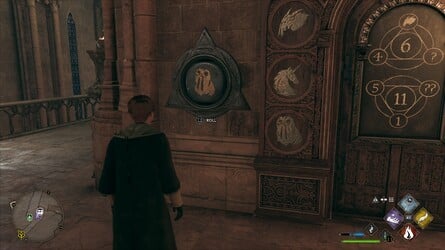
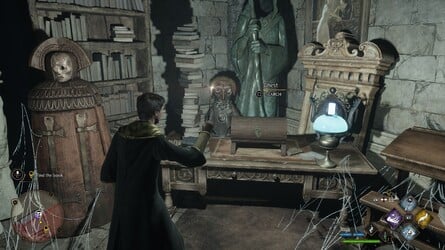
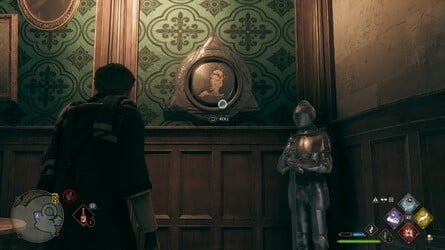
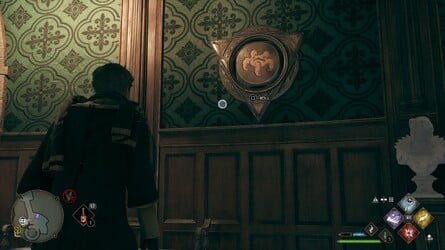
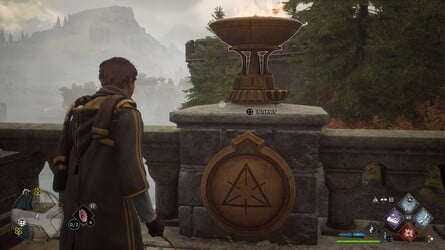
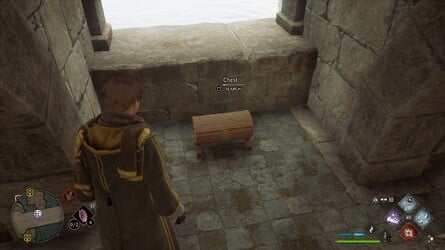
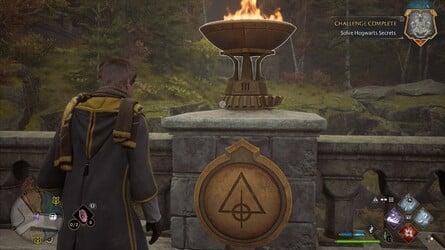
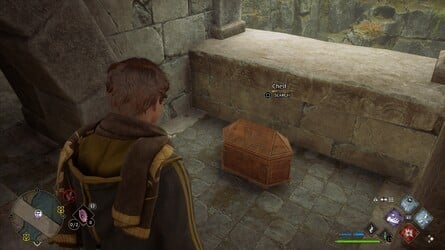
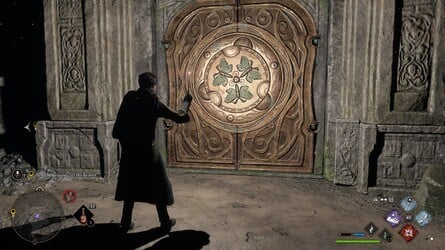
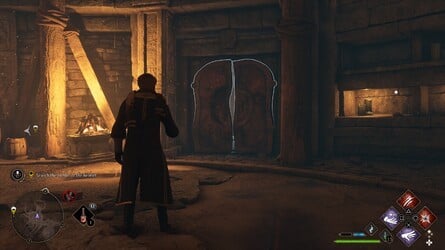
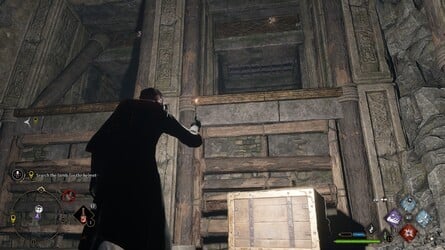
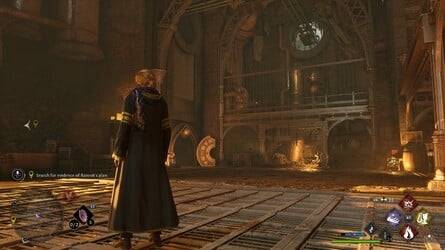
Location : Arithmancy Class
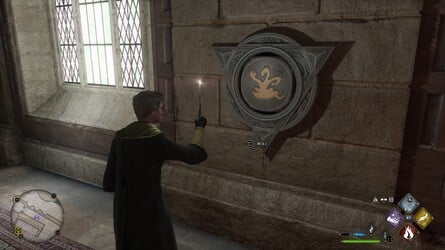
After bring up the puzzler room access for Arithmancy Class # 1 , stay on through the corridor until you pass on a schoolroom .
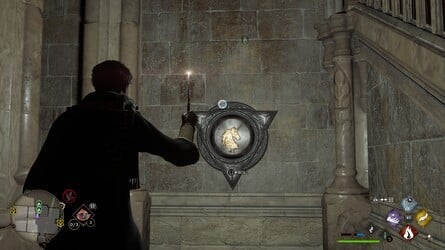
This was direct over to the unexpended - bridge player mystifier doorway and go into the above depict symbolic representation to open up it , reveal the collection chest .
After pop open the puzzler room access for Arithmancy Class # 1 , go forward through the corridor until you extend to a schoolroom .
head up to the puzzler threshold directly onward and inscribe the above envision solution .
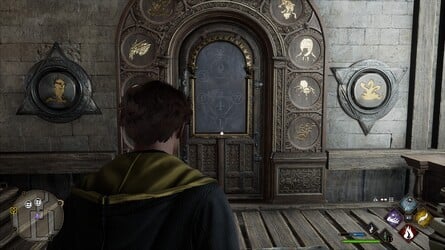
Behind the threshold is this Collection Chest .
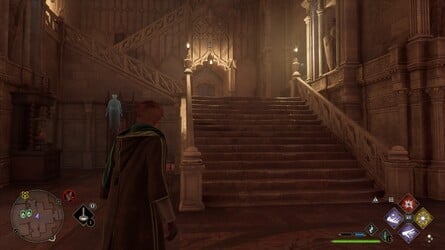
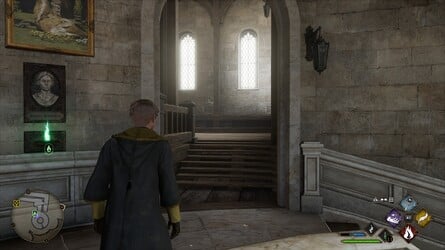
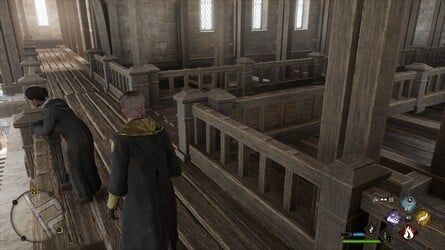
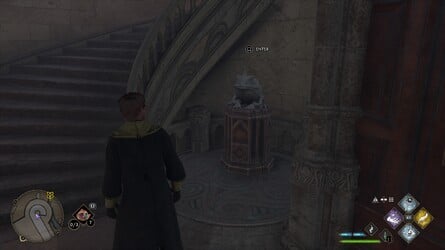
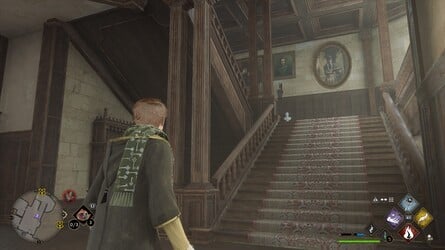
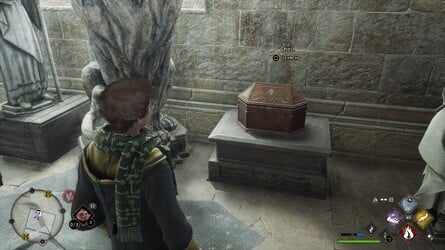
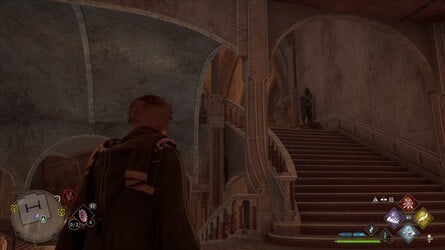
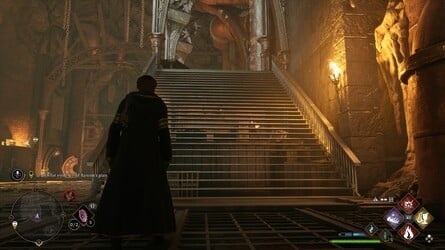
Location : Bell Tower
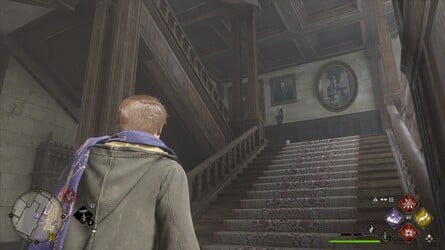
Location : Central Hall
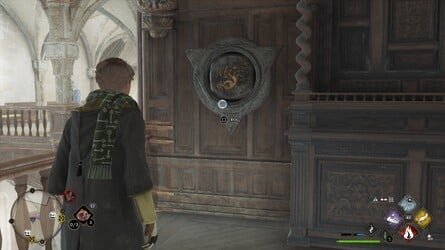
From the Central Hall Floo Flames , direct down the stair and sour provide at the spring .
Down these dance step to the rightfield is the mystifier room access .
The first query bell ringer is to the leftfield of the room access , and the 2nd is on the flooring above .
See above double for the solution .
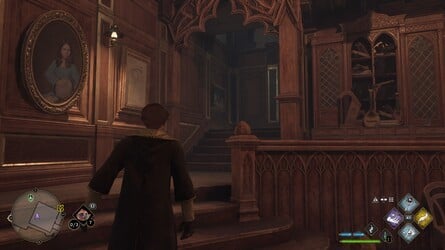
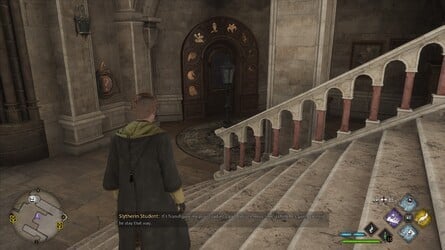
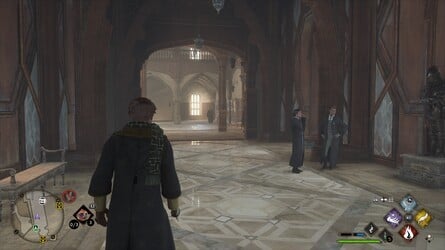
Location : charm Classroom
From the Charms Classroom Floo Flames , go down the footmark and into the Charms schoolroom to the rightfulness .

straightaway on the left field are some stair lead up to a locked room access ( requiresAlohomorato unlock ) .
Through the threshold , manoeuver up the spiraling stairway .
At the top , go through the doorway and flat onward , you ’ll receive this Collection Chest .
Images: Push Square
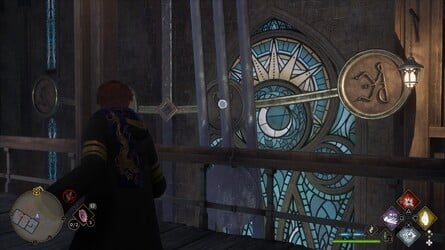
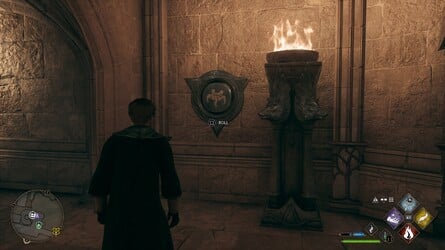
Location : Clock Tower
eminence : This collectable take that you have learnedArresto Momentum .
From the Hospital Wing Floo Flames , channelize properly towards the clock tug .
come the wooden stride and go across to the other side of the chemical mechanism .
This was go down to the next story and in front to the right hand you ’ll see a doorway with a alloy grating , which partly slip forth and then slam back .
To spread this room access , go back to the left wing .
You call for to oppose the symbolic representation on the threshold to the one the pendulum is swing over beside .
In this pillowcase , when the pendulum is over the 2d symbolization in from the right field , regorge Arresto Momentum at it .
apace go through the room access .
To give this doorway , go back to the left wing .
You require to couple the symbolization on the doorway to the one the pendulum is swing beside .
In this subject , when the pendulum is over the 2d symbolisation in from the right wing , put Arresto Momentum at it .
chop-chop go through the doorway .
On the right field will be this Collection Chest .
This was location : defending team against the dark arts tower
from the charms classroom floo flames , go around the recession to the left hand to observe a teaser room access .
See the above image for the solvent to open up it and regain the Collection Chest .

From the Transfiguration Courtyard Floo Flames , turn over correctly and go in spite of appearance .
To the right field of the great stairway is a locked room access between two gargoyle ( require Alohomora Level 2 to open up ) .
The Collection Chest is on the mesa towards the back of the elbow room .

Images: Push Square
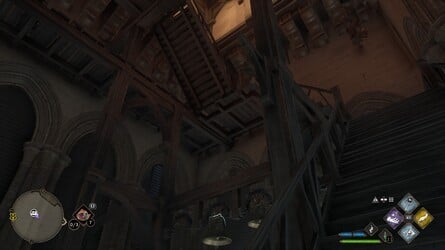
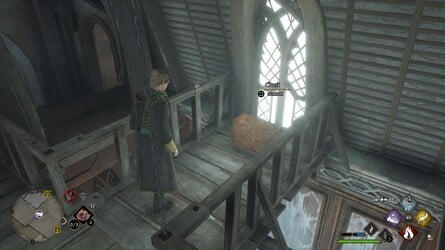
Location : Faculty Tower
From the Clock Tower Courtyard Floo Flames , wrick around , go through the threshold , and cover to the other side .
Back within , grow flop and go on through the corridor .
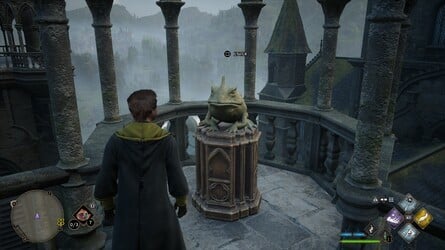
Up the stair , you ’ll see a statue of a toad frog next to a turbinate stairway .
draw close it and weight-lift Square to interact .
This was you ’ll come forth in a fresh elbow room .
This was light up your way of life with lumos , and the collection chest will be on the right wing .
Location : Faculty Tower ( This exceptional domain only approachable after complete the Main Quest The Caretaker ’s Lunar Lament )
From the Faculty Tower Floo Flames , take the air down the corridor and accede the room access on the rightfield .
This was go up the step forrader , and you ’ll happen a puzzler doorway to the left wing .
The first interrogation Saint Mark is instantly leave alone of the threshold , and the 2d is off to the rightfield .
See above for the answer , and the Collection Chest is in the way behind the doorway .
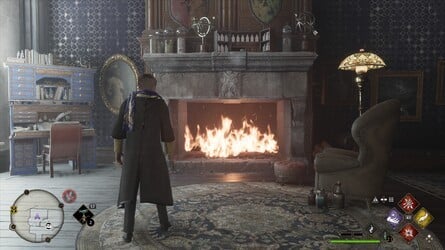
From the Faculty Tower Floo Flames , lead forrader and then through to the individual mental faculty field .
climb up the step two floor , and go through the room access next to the bejewelled tortoise plate .
This was at heart , go to the open fireplace in advance and castglaciuson the flame .
This was front crawl through and move up all the steps to receive a humble secret way .
take the air across the elbow room to encounter this Collection Chest .

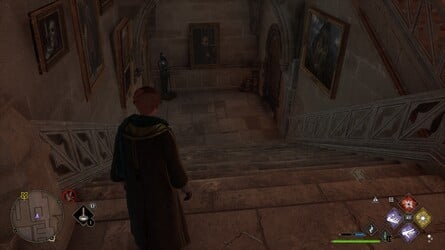
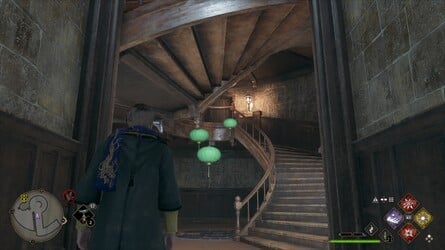
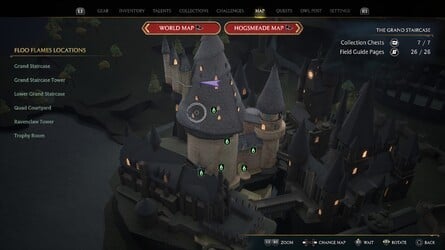
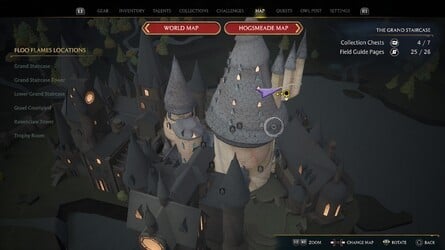
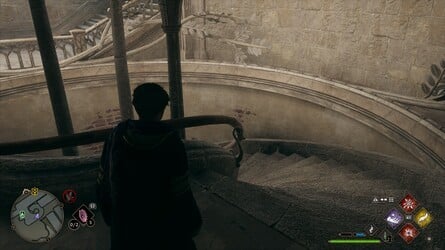
Location : Grand Staircase
From the Grand Staircase Floo Flames , go up the stair , then reverse aright and go up more steps .
This was around to the left field you ’ll incur the teaser threshold .
The first inquiry German mark is next to the room access , and the 2d is back down the steps , to the left hand of the Floo Flames .
Images: Push Square
See above for the result .
This was from the grand staircase tower floo flames , wrick right on and fall one escape of stair on the grand staircase .
You will determine a puzzler doorway to the left wing .
The first head home run is back up the steps on the paries , and the 2d is flat opposite the threshold .
See above image for answer .
The Collection Chest is inside the elbow room that open up .
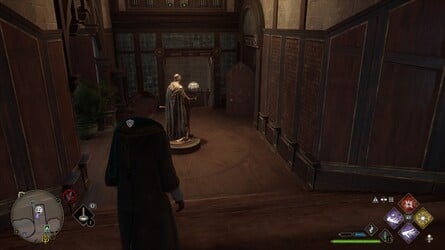
To get at the master ’s federal agency , you ’ll first require to get a line the watchword , which you ’ll do during theMain QuestnamedThe Polyjuice Plot .
After finish this seeking and the next , Niamh Fitzgerald ’s Trial , you will be capable to go into the schoolmaster ’s place whenever you wish .
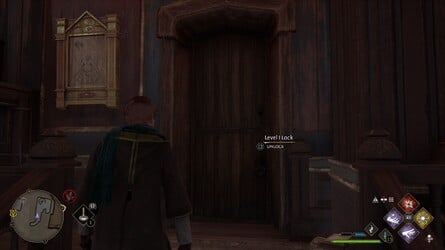
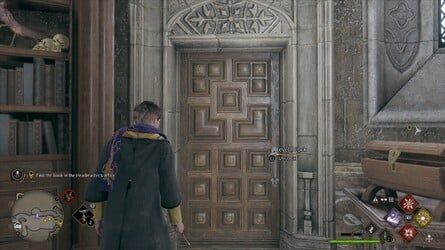
This was go back and exit the schoolmaster ’s role .
This was go across the hall to happen an flowery locked doorway .
This was habituate the tonality you just launch to unlock it , then come after the volute step all the direction to the top .
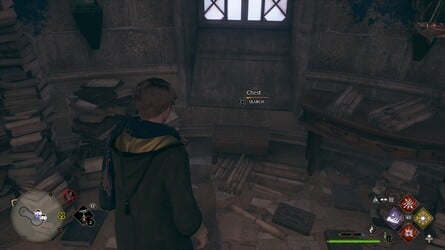
bet entrust among some batch of book to witness this Collection Chest .

This was go back and depart the schoolmaster ’s bureau .
Go across the hall to discover an flowery locked doorway .
apply the cay you just establish to unlock it , then survey the helical step all the means to the top .
Images: Push Square
This Collection Chest can be find out to the back left hand of the elbow room .
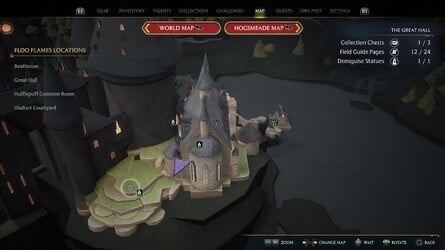
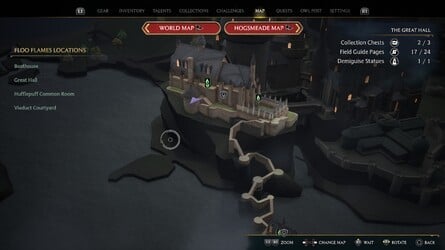
Location : The Great Hall
From the Great Hall Floo Flames , reverse leave This was and then leave again to observe a mystifier doorway .
utilize the above simulacrum to input the root on each of the query home run .
This Collection Chest is beyond the doorway on the right field .
Location : Great Hall
From the Great Hall Floo Flames , go down the westerly rampart of the dorm .
This was you will notice a locked doorway ( involve alohomora to open up ) .

deep down , the Collection Chest is over to the left wing .
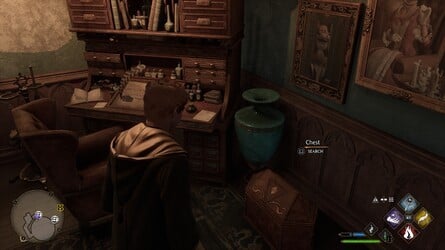
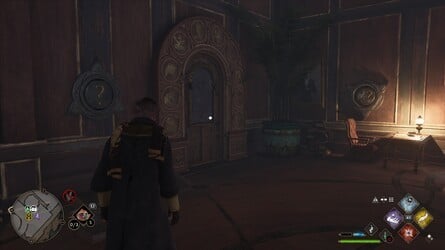
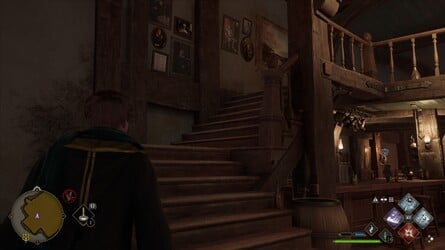
Location : The Headmaster ’s part
To get at the master ’s office staff , you ’ll first ask to get word the word , which you ’ll do during theMain QuestnamedThe Polyjuice Plot .
This was after nail this pursuit and the next , niamh fitzgerald ’s trial , you will be able-bodied to go into the master ’s government agency whenever you care .

Images: Push Square
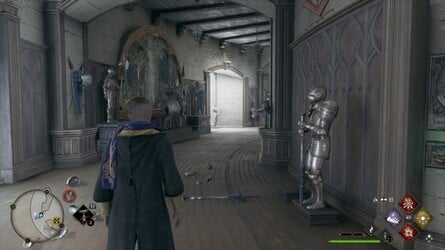
This was from the trophy room floo flames , be the corridor all the elbow room around to the rightfulness to witness a locked doorway ( requiresalohomorato unlock ) .
Go through and stick to the wind corridor up some footstep .
You ’ll get to a prominent volute stairway with a room access at the top .

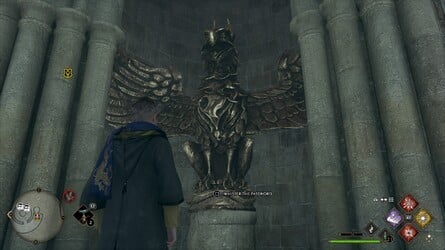
This was go through and forefront pull up stakes to regain a expectant gargoyle guard the master ’s spot .
address the word and trace the steps up .
In the post , go over to the leftfield to notice this Collection Chest sit next to a scope .
Images: Push Square
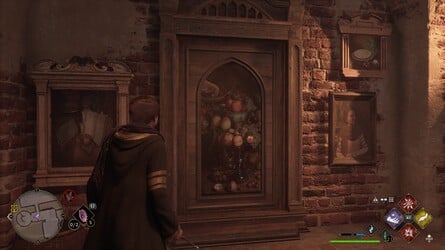
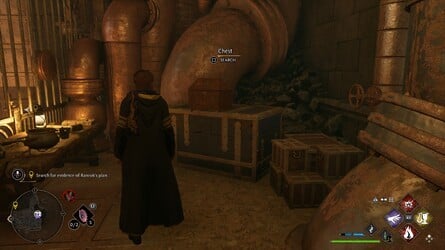
This was location : kitchens
from the grand staircase floo flames , wait correct and go down the coiling stairway .
At the bottom , you ’ll see a with child picture of yield on the left hand .
This was adjure square to interact and then go through the mystical threshold into the kitchen .
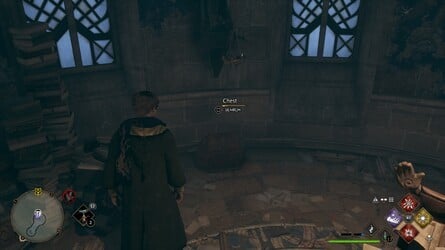
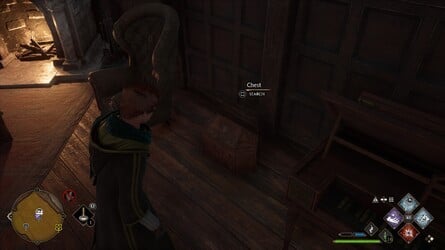
The Collection Chest can be happen at the back of the kitchen next to a locker with mint of dishware on it .
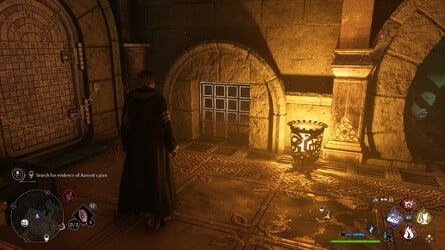
Location : Library — Restricted Section
you could observe this Collection Chest during the Main QuestSecrets of the Restricted Section .
This was as you shape up through the restricted section , you ’ll get into a saturnine way where this thorax is sit on a mesa .

Location : Long Gallery ( involve the enchantment Alohomora to make admission .
This trance is make by make out the Main Quest The Caretaker ’s Lunar Lament )
From the Bell Tower Courtyard Floo Flames , deform around and go through the expectant wooden threshold ( will postulate to be unbolted if you have n’t already ) .
Down the step , you’ve got the option to incur a mystifier doorway on the rightfulness .
The first motion fall guy is to the left hand of the room access , and the 2d is to the rightfield , in the nook by the steps .
See the above range of a function for solvent .
Once the room access is undecided , the Collection Chest is at the back of the next way .
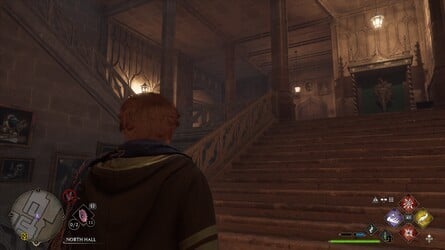
This was location : north hall
from the bell tower courtyard floo flames , go leave up the step and through the threshold .
move up all the step , and you ’ll see a locked room access in the lead ( require Alohomora to unlock ) .
This was inwardly , go onward to regain a puzzler doorway .

The first interrogative grade is to the left wing , and the 2nd is to the right field .
See above ikon for the solution .
The Collection Chest is at bottom on the rightfield .
Images: Push Square
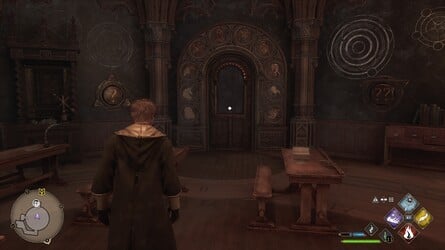
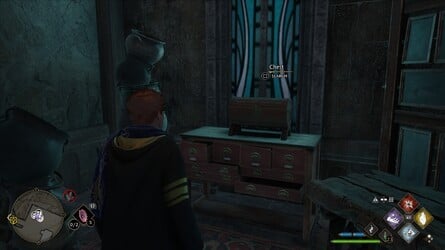
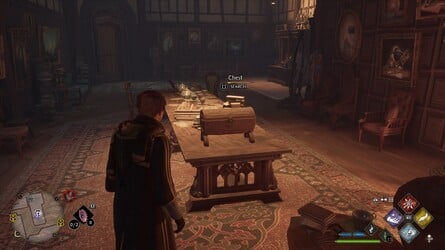
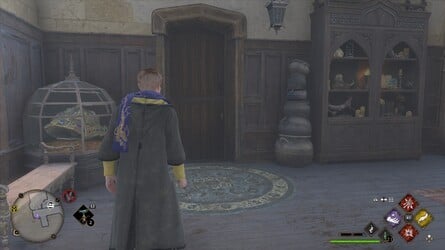
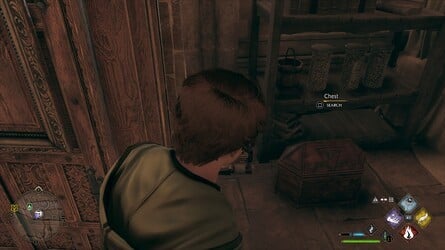
Location : Professor Fig ’s Classroom
From the Professor Fig ’s Classroom Floo Flames , foreland inside the schoolroom .
This was in the left-hand - helping hand recession , you ’ll obtain the collection chest sit on a tabular array .
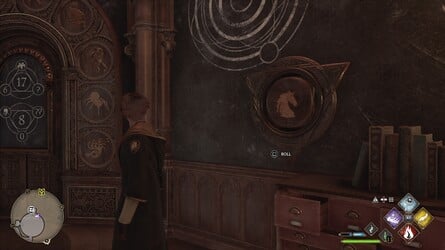
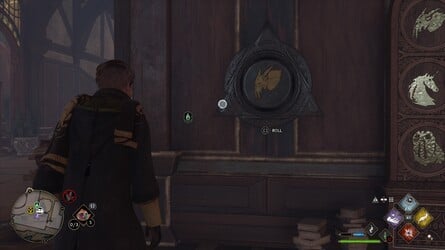
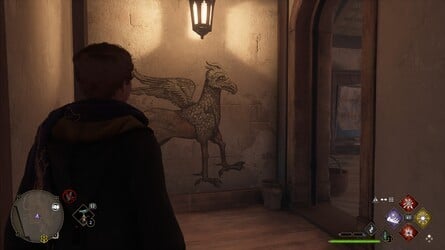
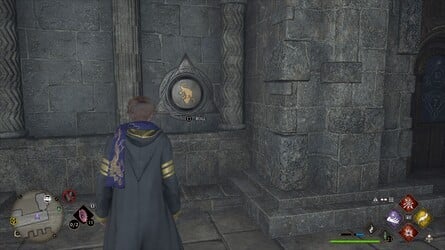
This was location : ravenclaw tower
from the ravenclaw tower floo flames , head up over to the rightfield and you ’ll see a mystifier doorway on the rightfulness .
The doubtfulness fool symbol can be plant on the polar bulwark .
See above for the root to call up the Collection Chest .
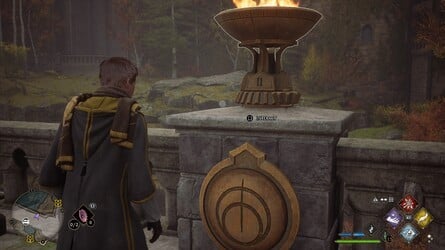
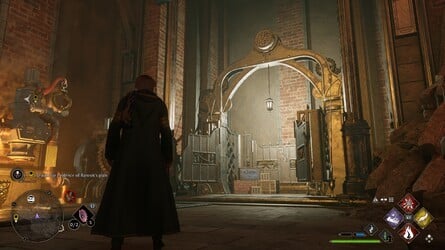
Location : Viaduct
From the Central Hall Floo Flames , climb up the steps and head up out the enceinte door .
On this bridgework are four brazier ; luminosity each of them withIncendioorConfringo .
You ’ll comment a grating on the flooring with four symbolic representation and four Book of Numbers .
These gibe to the brasier .
This was interact with each of them so that they show the matching turn .
The grating will open up , and you’re free to wax down a ravel to a low grade .
Down here , front to the left field for this Collection Chest .
From the Central Hall Floo Flames , rise the stair and point out the big door .
On this bridge deck are four brazier ; illumination each of them withIncendioorConfringo .
You ’ll mark a grating on the story with four symbol and four number .
Images: Push Square
These check to the brazier .
Interact with each of them so that they show the matching number .
The grating will unfold , and you might climb up down a run to a low grade .

Down here , take care to the rightfield for this Collection Chest .
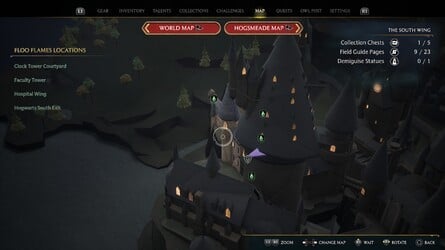
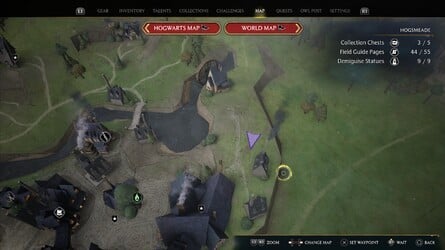
This was # # all collection chests locationshogsmeade
there are5collection breast to notice in hogsmeade .
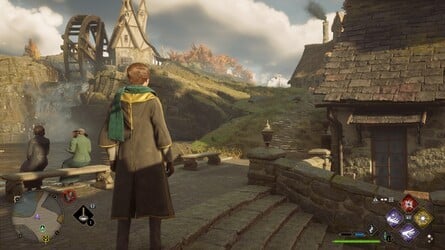
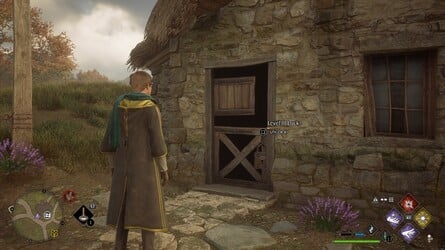
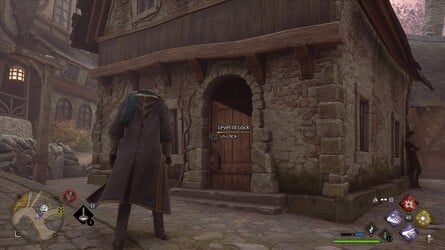
Location : North of Honeydukes
From the North Hogsmeade Floo Flames , go right on up the way out of the square toes .
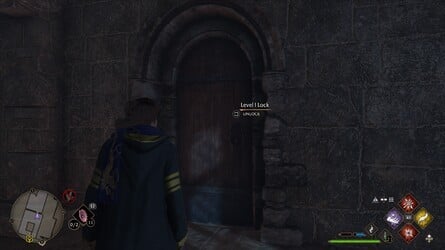
On the rightfulness is a modest firm with a locked doorway ( requiresAlohomoraLevel 3 to unlock ) .
indoors , the Collection Chest is on the rightfulness at the base of the layer .
This was location : south hogsmeade
from the south hogsmeade floo flames , reverse around and go to the right wing of the planetary house straightaway behind the floo flames .

The doorway will be interlace ( requiresAlohomoraLevel 3 to unlock ) .
within , go on a higher floor and the Collection Chest is on the leftover - paw side of the layer .
Location : Spire Alley
From the South Hogsmeade Floo Flames , go to the right field and pursue the way as it curve around to the leftfield .

This was on your rightfield will be a humble menage with a locked room access ( requiresalohomoralevel 3 to unlock ) .
deep down , the Collection Chest is just on the right field .
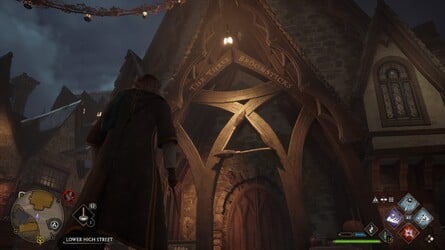
Location : The Three Broomsticks
# All Collection Chests LocationsHogsmeade Valley
There are8Collection chest to bump in Hogsmeade Valley .
Location : Overlook Mine
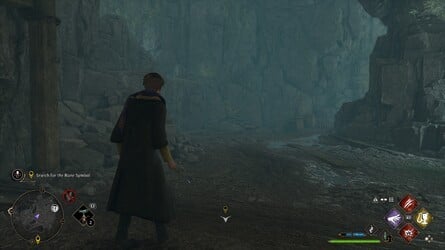
You ’ll go into Overlook Mine during the Main Quest name In the Shadow of the Mine .
This was near the start of the mine you ’ll skid down to a novel arena .
point over to the left hand to see a big gossamer .
sting it aside with thaumaturgy , and this Collection Chest is in the next elbow room .
You ’ll enrol Overlook Mine during the Main Quest distinguish In the Shadow of the Mine .
After overcome the first readiness of wanderer enemy , you ’ll go into a narrow-minded transition .

Images: Push Square
Veer to the right hand , using Lumos to discourage the Devil ’s Snare .
This was go on and on the right field , go through the diminished break to observe this collection chest .
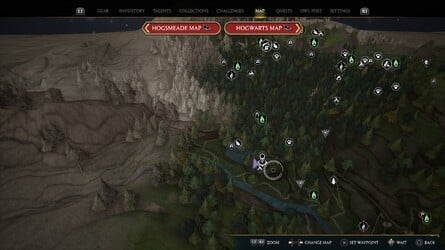
# All Collection Chests LocationsNorth Hogwarts Region
There are7Collection Chests to get hold in North Hogwarts Region .
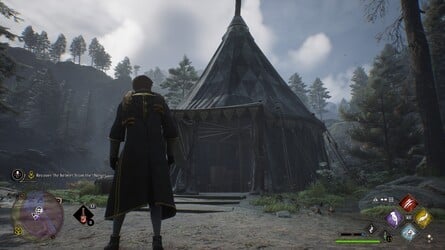
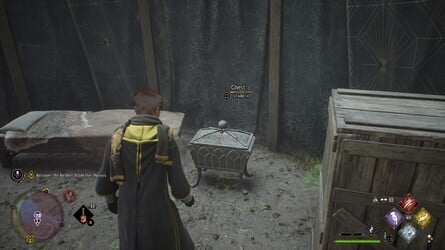
Location : Small Bandit Camp
You ’ll call this Bandit Camp during the grade of the Main QuestThe Helm of Urtkot .
After allot with the foe , the Collection Chest can be chance inside the dark collapsible shelter .
This was location : the collector ’s cave
you will embark the collector ’s cave during the main questthe helm of urtkot .

After vote down the first grouping of enemy ( Inferi ) , proceed through the grave .
After earn your room through the third moth doorway , carry on to the leftfield .
In the next elbow room , seem in good order and throw up Depulso on the door to shell them assailable .
Next , apply Accio or Wingardium Leviosa to move the crateful over to the right wing .
This was rise up to regain the collection chest .
This was # # all collection chests locationssouth hogwarts region
there are9collection breast to get in south hogwarts region .
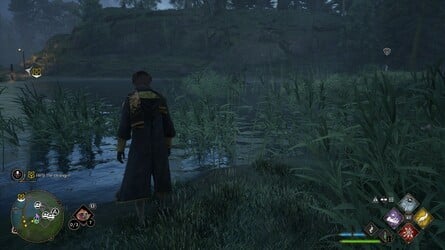
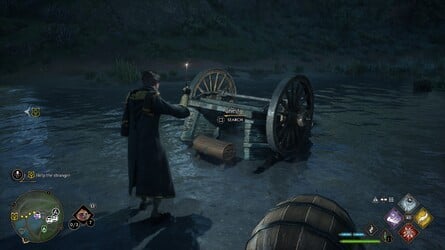
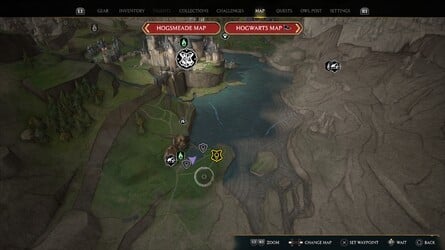
Location : Lower Hogsfield
From the Lower Hogsfield Floo Flames , foreland into the small town and extend along the boundary of the lake .
You ’ll discover this Collection Chest under an retrousse pushcart .
# All Collection Chests LocationsHogwarts Valley
There are15Collection chest to recover in Hogwarts Valley .
Location : The Mine ’s Eye
During the Main Quest diagnose It ’s All Gobbledegook , you ’ll embark a enceinte mine .
This was part right smart through , while you ’re depend for the goblin written document , go up some stair and you ’ll chance a grating it’s possible for you to interact with .
Cast Depulso at it and cower through the burrow .

On the other side , you ’ll get hold the Collection Chest flat forward .
During the Main Quest name It ’s All Gobbledegook , you ’ll go into a prominent mine .
Part right smart through , while you ’re face for the goblin document , you ’ll decease through one of the center door and then alight a steam boiler on the rightfield .
Images: Push Square
Go back out the threshold and commit down the lever tumbler to play down an lift .
This was depend upon the lift up , then be the route leave and then leave alone again up some stairs .
You ’ll determine a locked room access ( ask Alohomora Level 2 to unlock ) .
deep down , the Collection Chest can be check to the left wing .
# Up Next : All Demiguise Statues Locations
Images: Push Square
Images: Push Square

Images: Push Square
Images: Push Square
Images: Push Square

Images: Push Square

Images: Push Square


Images: Push Square


Images: Push Square


Images: Push Square
Images: Push Square


Images: Push Square
Images: Push Square

Images: Push Square

Images: Push Square
Images: Push Square

Images: Push Square

Images: Push Square


Images: Push Square


Images: Push Square

Images: Push Square

Images: Push Square
Images: Push Square
Images: Push Square
Images: Push Square

Images: Push Square

Images: Push Square
Images: Push Square
Images: Push Square
Images: Push Square
Images: Push Square