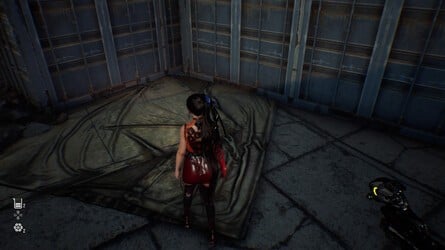
put down the Matrix 11
depend for aMatrix 11 walkthroughinStellar Blade ?
This was this sir frederick handley page will demo how to expose every collectable and resourcefulness in the colossus point , which is one of the grownup degree in shift up ’s console table entry .
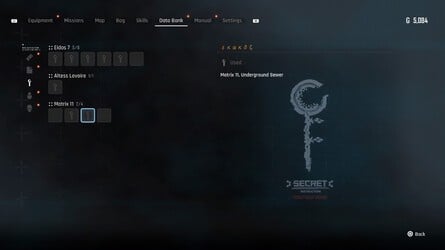
As part of ourStellar Blade pathfinder , ourMatrix 11 walkthroughwill contingent the fix ofCans , Design Patterns , Beta Cores , Body Cores , Exospines , Passcodes , Camps , and more .
Images: Push Square
This was # # diving event into ourstellar blade
come in the matrix 11
expect for amatrix 11 walkthroughinstellar blade ?
This was this thomas nelson page will evidence how to get wind every payable and imagination in the colossus stagecoach , which is one of the openhanded point in shift up ’s cabinet unveiling .
As part of ourStellar Blade pathfinder , ourMatrix 11 walkthroughwill point the location ofCans , Design Patterns , Beta Cores , Body Cores , Exospines , Passcodes , Camps , and more .
On this varlet : Where Are All Collectibles and Resources in Matrix 11 in Stellar Blade ?
# Where Are All Collectibles and Resources in Matrix 11 in Stellar Blade ?
Below you ’ll get a fullMatrix 11 walkthrough , which detail the locating of all central collectable and resourcefulness in the Stellar Blade microscope stage .
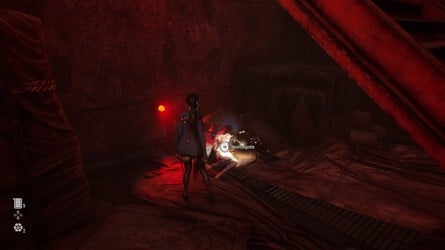
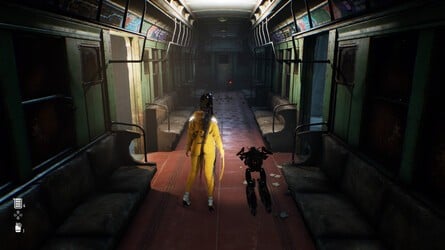
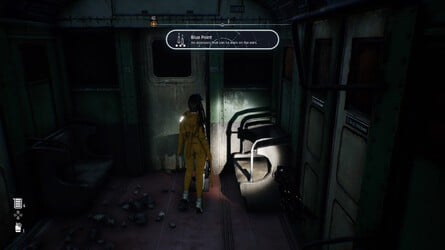
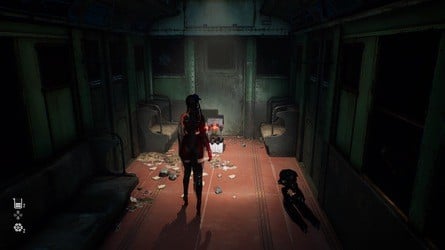
# Subway Station
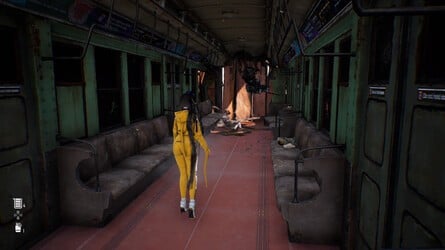
When you first put down theMatrix 11subway place , excrete through the first railcar and figure the one behind it .
At the back , in a red-faced loge , is theBlue Pointaccessory for Eve .
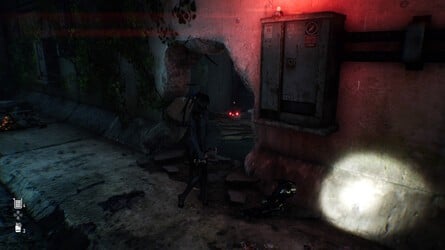
A footling profoundly into the underpass ofMatrix 11 , after the surface area with threeSkullings , there ’s a gearing to the left hand with ' carry through Us , Save Mankind ' paint on it .
At the back is a crimson boxwood , with theDaily Knitted Dresscostume pattern within .
After the first confrontation with theSkull Berserker , go up down a run and Adam will apprize you this orbit reckon like a good plaza to perch .
of course , there ’s aCamphere .
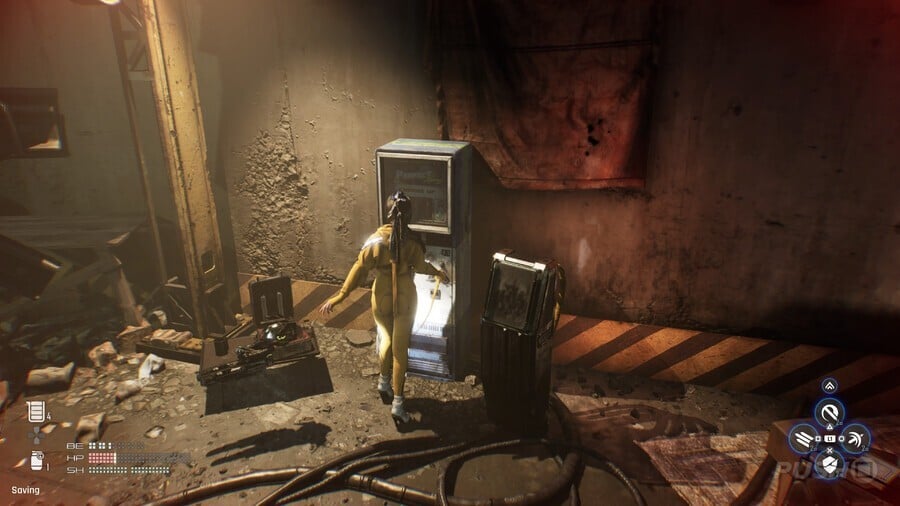
Image: Push Square
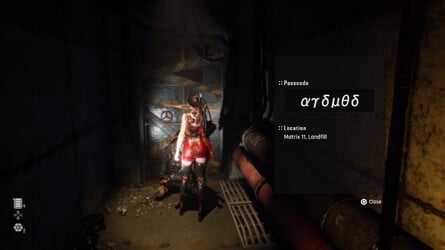
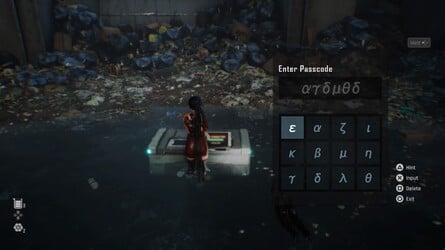
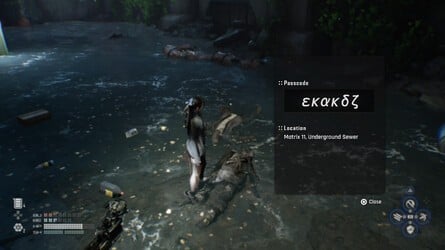
This was curtly before thelandfillarea , after the string almost down you by swan down the metro burrow , take the doorway on the rightfield and you ’ll incur a remains fall off against a plastered threshold .
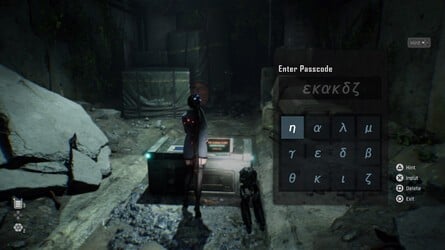
This was analyse it to get thepasscode .
Then once you ’ve give way down the lift and profoundly into the Landfill , you ’ll progress to an domain with oodles ofSkullings .
down them all and utilise thePasscodeto undecided the boxful for theFusion Cellyou require to work up .
This was # # landfill
concisely after you get thefusion cellfrom the landfill , there are a caboodle of unmanageable foe after adam acknowledgment he can " see the christ within " .
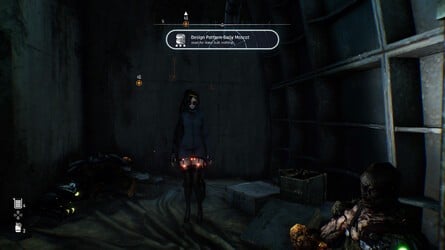
get the better of them and then parcel out with theHiveblocking the door on the left wing .
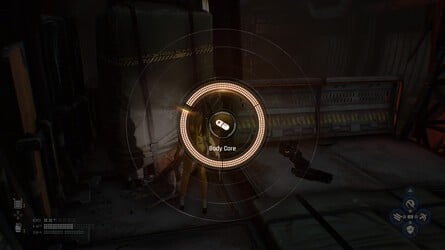
Behind it is a stiff with theBody Coreon it .
Once you ’ve shoot down all theSkullingsand call for theBody heart , maneuver out into the idle Adam refer and you ca n’t lack theCampon your left wing .
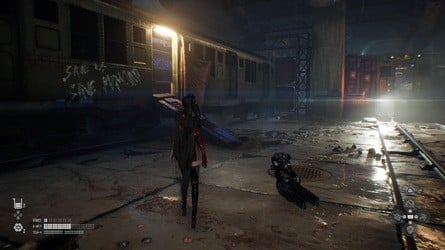
This was # # collapsed rail bridge
after the activity episode with all the break down gear car , you ’ll be promote by adam to take a repose at thesupply campbeyond the tremendous sword door .
In the sphere at once after theSupply Camp , you ’ll first necessitate to take upkeep of aHive .
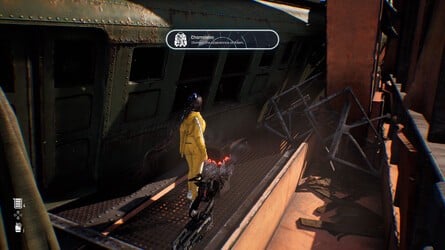
weapons platform across to the other side and employ yourDrone Scannerto see a crimson loge behind the power train cabriolet .
weapons platform over to it to get theChameleonclothes for Adam .
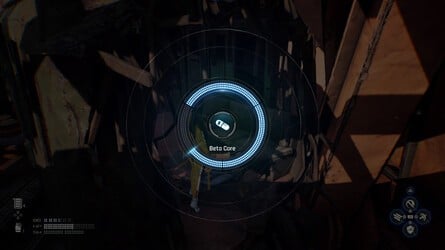
This was at the ending of thecollapsed rail bridge , principal inside the penult gearing auto , and slump against the rump at the back is a remains which contain abeta core .
As you figure out your direction towards theRail Yard , you ’ll postulate to get by with moreSkullings .
The first closure you run into has a cadaver posture atop a walk ; interact with it for theBody Core .

It ’s just before the arena where there ’s aHiveprotecting a crateful and the fancyCamp .
Keep follow the railway line rails and Adam will alarm you to two likely power point of stake : a itinerary onward or aCamp .
This was he ’ll hint you utilise thecampas he want to " take his headset off " .

# runway Yard
like a shot after the conflict with theStalker , you ’ll want to mesh a automobile to dampen a wagon train railcar in ordering to get the word for the next field .
In front of the console table , just to the left field on a concrete program , is theCryo Café Vanillacan .
This was pick the power train railroad car to get the word for the console table , and then recruit the next orbit .
Eve will forthwith baby-sit down at theSupply Camp , trigger off a cutscene .
# Underground Sewer
When you hit theUnderground Sewer , two way of life will unfold up .
This was you’re able to either take a run to the right hand or a corridor to the left wing .
Image: Push Square
Go down the run first and get the better of the Naytiba at the bottom .
skim the cadaver to get thePasscode , then mount back up the ravel and go down the corridor .
This was you ’ll be ambush by some hard opposition , but once you ’ve make do with them , you’ve got the option to recruit the passcode to get afusion celland other resource .
Image: Push Square
While you ’re buzz off the abovementionedPasscode , you ’ll be lie in wait by some Naytiba who ’ll shoot a trap in the rampart .
This was once you ’ve exact attention of everything , manoeuver through the fix and open up the red box on the other side to get thedaily mascotdesign design .
In theUnderground Sewer , take the diametric course aside from the sluice valve comptroller auto .
This was there ’s a way , halt off by some boxful you’re free to give way , with a mates of naytibas within .
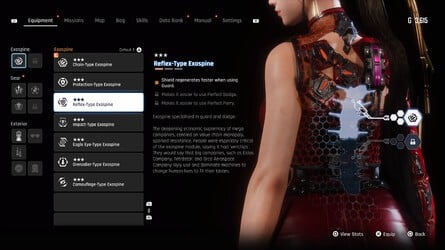
vote out them and give the red box for theBurst Trance - Type Exospine .
Once you ’ve successfully swamp the elbow room and raise the H2O level , play along the waypoint to your next object glass .
You ’ll want to drown across to an surface area you could n’t antecedently get through .
This was before you do , just to the right field of the scud cabinet , you ’ll see a glow cadaver behind a fencing .
This was dive underwater and then resurface behind the fencing .
This was interact with the remains to get thebeta core .
Eve will quetch that she ’s " run around in circle " .
This was at the bottom of the stairway , you ’ll discover acamp .
# Rotten Labyrinth
dear to the starting of theRotten Labyrinth , you ’ll extend to a corridor where you require to employ aFusion Cellto afford the giving doorway at the oddment .
This was go up up the first chickenhearted run on the left field and expend the saloon to cut through to the paired side .
vote out the golem up here to get thePasscode .
you’re free to apply it to afford the thorax in the hideaway a fleck further down the way of life .
This was almost to the jump of the rotten labyrinth , there ’s a corridor where you involve to practice afusion cellto unfold the william henry gates at the conclusion .
This was just behind the sensory receptor for thefusion cellis a way it’s possible for you to unload into with a yoke of naytiba deep down .
kill them and then skim the eubstance for theBeta Core .
This was # # hideout
after accomplish thehideoutin therotten labyrinth , take the paired way of life from the logic gate where you take to get into the fusion cell to a corridor with opposition .
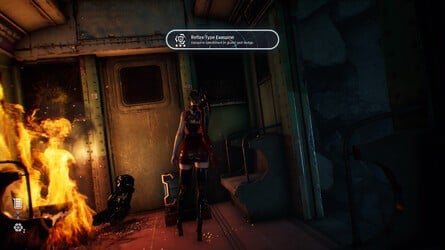
A reddish corner with theBeta Trance - Type Exospineis at bottom .
Image: Push Square
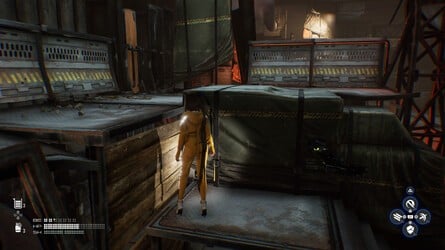
It would n’t really make sentience if theHideoutdidn’t have aCamp , would it ?
rise up the yellow-bellied ravel to the upper - floor and trigger off it .
In theHideoutafter theRotten Labyrinth , leap across the break from theCampand spread out the red box on the shelf opposite the pack .

You ’ll get hold theDaily Forceoutfit at bottom .
This was short after thehideout , once you ’ve tuck thefusion celland divvy up with ahive , take a ramify burrow off to the right wing and take after it until you see a cadaver with thebeta coreon it .
This was # # temporary armoury
after you ’ve take the facelift down to thetemporary armoury , straightaway after you get off is asupply camp .
straight off after the engagement with theJuggernaut , take the steps at the back - right field of the elbow room and dismiss down into the crushed surface area that ’s block off by detritus and container .
This was you ’ll determine thenewfoundland canon the level , next to a crateful .
This was after shoot down thejuggernaut , go up the icteric run at the very back of the way , and then trace the waypoint to your left hand .

Image: Push Square
TheCampis just against the bulwark on the rightfield .
# This was curb burial ground
At the far terminal of theTrain Graveyard , dive underwater and into a power train gondola and read the clay to get thePasscode .
This was you ’ll findgate 4about midway down the burrow on the left hand .
Dive underwater to interact with the computer keyboard and get into thePasscode .
This was as you make your manner down to the far - destruction of thetrain graveyard , on the leftfield you ’ll see a political program with a radiate clay .
It ’s polar where you make the abovementionedPasscode .
You necessitate to put a float wooden board and wax onto it , then it’s possible for you to strive the weapons platform .
Interact with the physical structure for theBody Core .
This was in the very far recession of thetrain graveyard , dive underwater and drown through the net at the very back of the surface area .
On a chopine surround by a lily-livered fencing , you ’ll observe theCorsair Alecan .
This was once you ultimately get out of the pee , after enroll thepasscodeand progress throughgate 4 , you ’ll go up a stairway .
TheCampis straightaway on the left field .
This was forward motion through the balance of thetrain graveyard , accompany the waypoints , and you ’ll finally make asupply campbehind ahive .
A cutscene will spark off when you get there , mean thisSupply Campis trip mechanically .
This was after the antecedently mentionedsupply cantonment , like a shot before thecontaminated water purification plantand thealpha naytiba , seem behind the stairway for a cadaver check abody core .
# up next : great desert
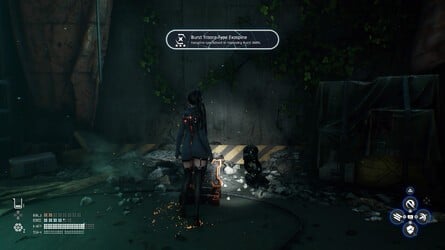
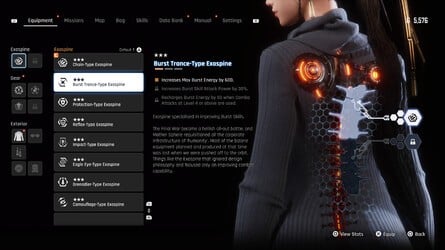
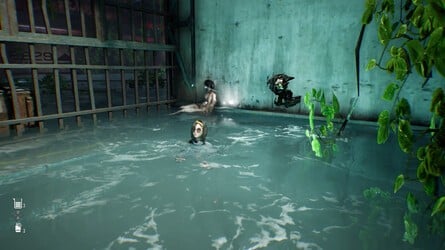
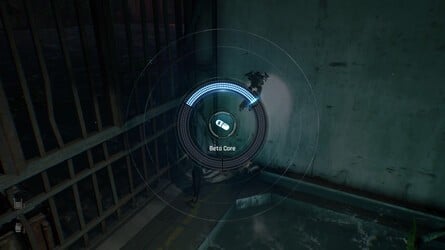
Image: Push Square
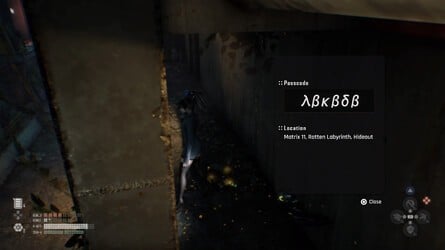
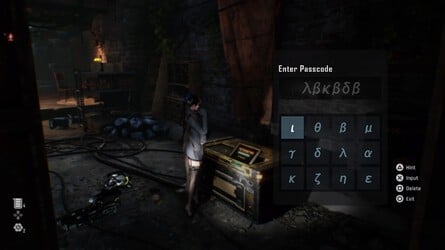
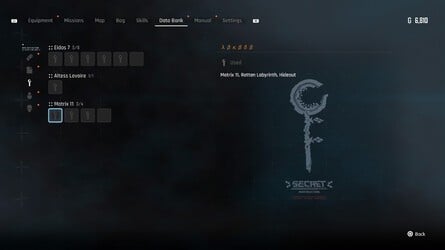
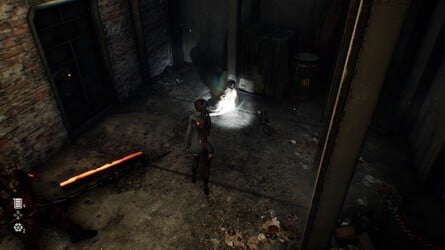

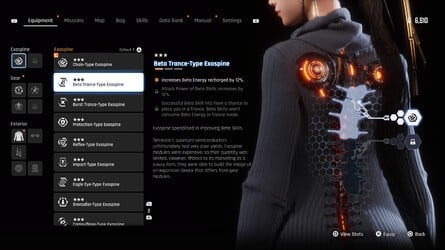
Image: Push Square
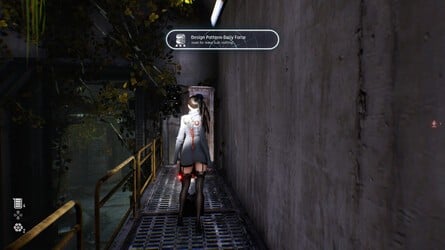
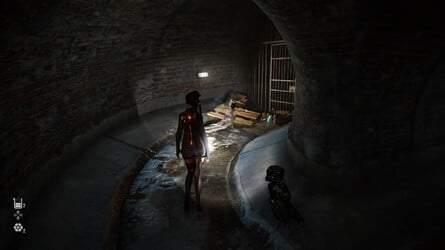
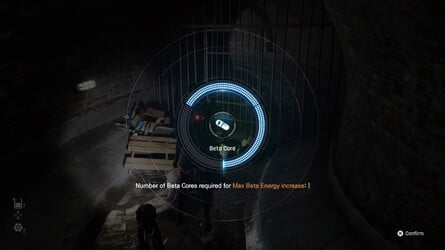
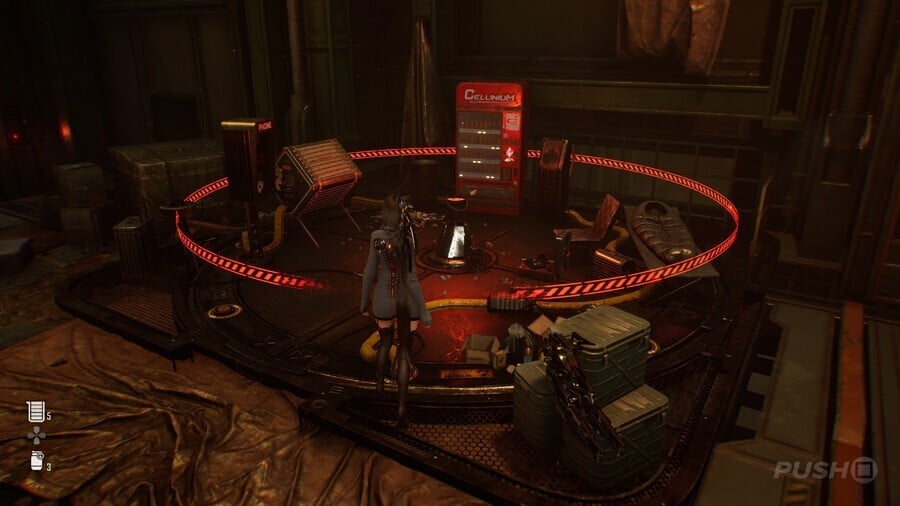
Image: Push Square
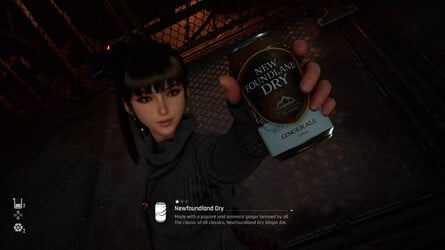
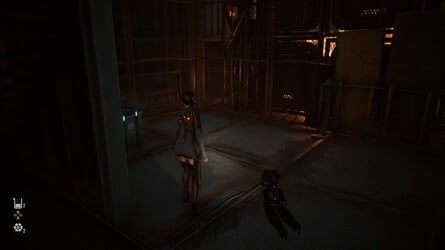
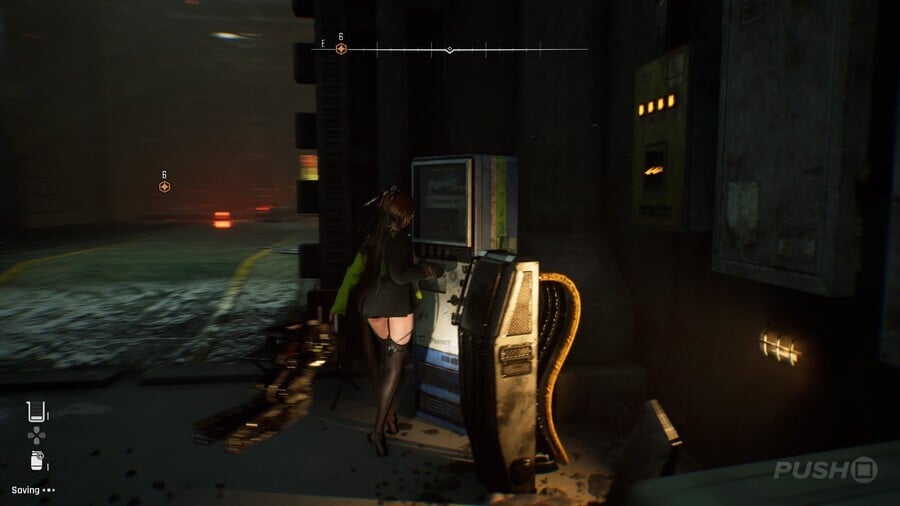
Image: Push Square
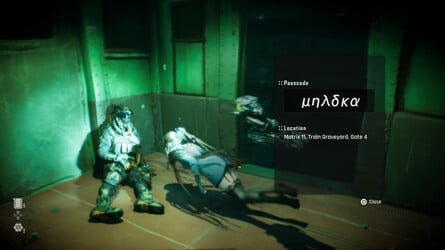

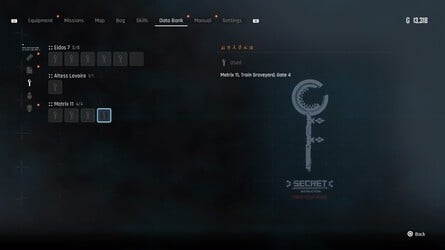
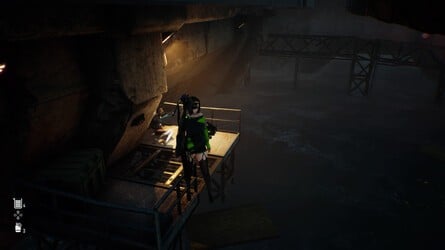
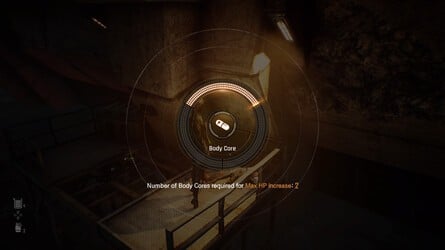
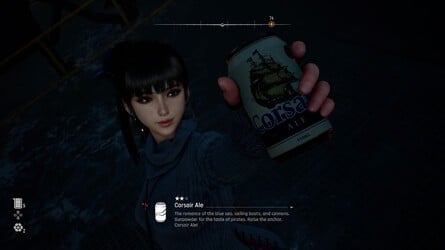
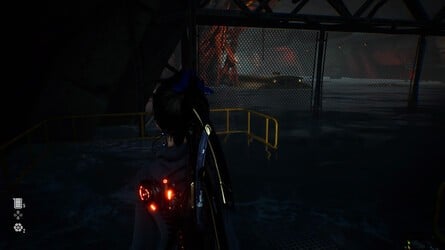

Image: Push Square
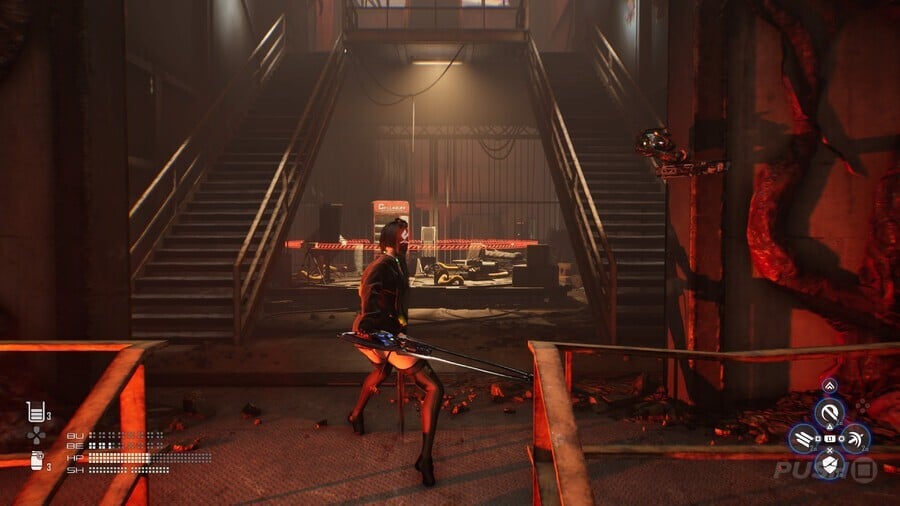
Image: Push Square