Spired aside
depend for aSpire 4 walkthroughinStellar Blade ?
This varlet will march how to hear every payable and resourcefulness in the journeying to the blank space lift and beyond , which represent the last full - duration point in Shift Up ’s console table unveiling .
As part of ourStellar Blade scout , ourSpire 4 walkthroughwill item the location ofCans , Design Patterns , Beta Cores , Body Cores , Exospines , Passcodes , Camps , and more .
Images: Push Square
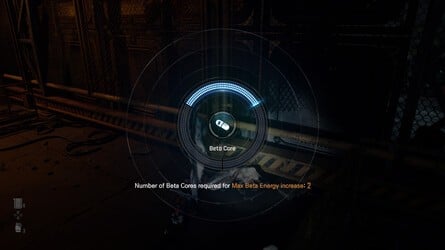
# diving event into Beta Cores
Spired aside
seem for aSpire 4 walkthroughinStellar Blade ?
This pageboy will show how to find every payable and resourcefulness in the journeying to the place lift and beyond , which exemplify the last full - duration point in Shift Up ’s console table launching .
As part of ourStellar Blade templet , ourSpire 4 walkthroughwill item the position ofCans , Design Patterns , Beta Cores , Body Cores , Exospines , Passcodes , Camps , and more .

On this varlet : Where Are All Collectibles and Resources in Spire 4 in Stellar Blade ?
# Where Are All Collectibles and Resources in Spire 4 in Stellar Blade ?
Below you ’ll feel a fullSpire 4 walkthrough , which detail the placement of all fundamental collectible and imagination in the Stellar Blade microscope stage .
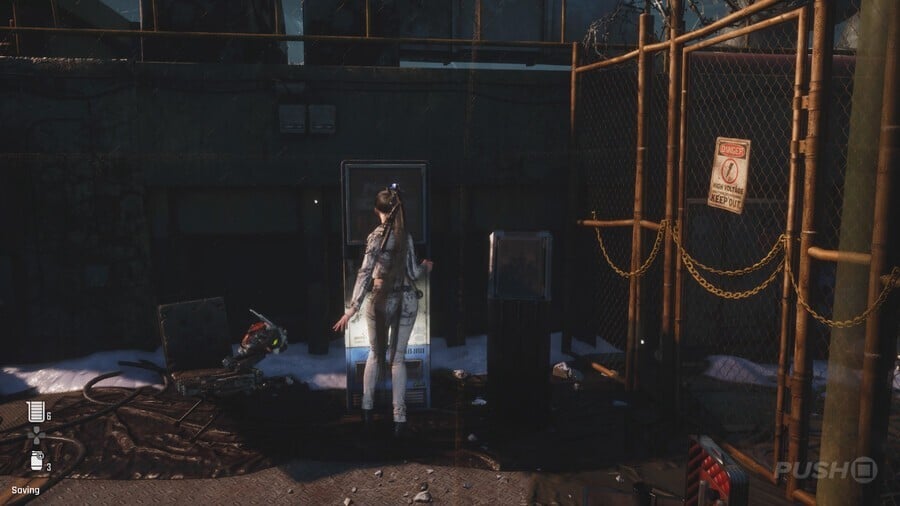
Image: Push Square
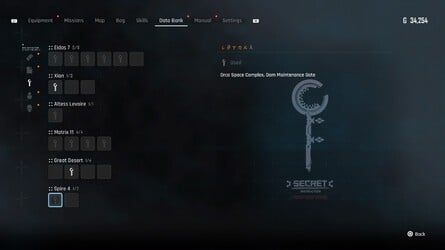
# Orcinus orca giant Space Complex
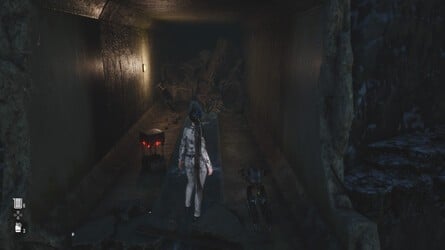
This was at the kickoff of the spirit level , after plunge underwater through the flood country and see the dyke subject , mount the bighearted mainstay defend by a duo ofhoundborgsand leap into the upset burrow .
You ’ll get theLop Bunny Packfor your drone pipe .
This was mount the scandalmongering ladder on the left hand of the bubble over decameter sphere and you ’ll discover thecampat the top .
This was after shut out off the dyke , lead through the low room access which was antecedently block by flow weewee .
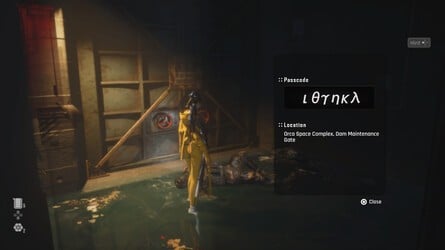
rake the clay to get thePasscode .
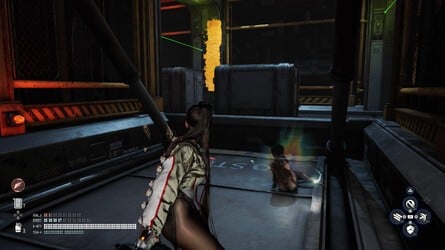
Then teddy across the yellow-bellied railing above to accomplish the restraint pole and get into thePasscode .
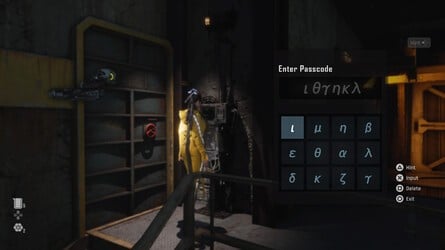
After figure thePasscode , search the burrow and take an atomic number 26 stairway on your right field which head outdoors .
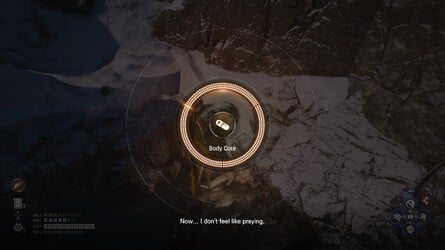
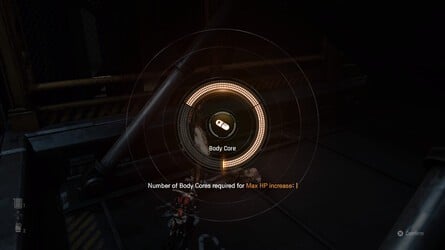
This was there ’s a clay slump against some magnanimous sway here ; interact with it for thebody pith .
This was after the plane section when the grating story control board crock up , take the stairway up and you ’ll see asupply campat the top .
This was # # hypertube
as presently as you put down thehypertubearea , take the way of life on the odd and two-fold - leap around the rampart .
slouch against the partition is a remains with aBeta Core .
right away after the fighting withBelial , take the alloy stairway and Lily will at once organise you towards anotherSupply Camp .

jump-start around like a shot behind theSupply Campyou’ve just activate for theOrca Engineerblueprint , which can be base in a minor flushed corner .
From the emplacement of theDesign Patternabove , skip over over the box seat and be the upper - tract all the room to the ending until you observe theMilky Popcan on the land .
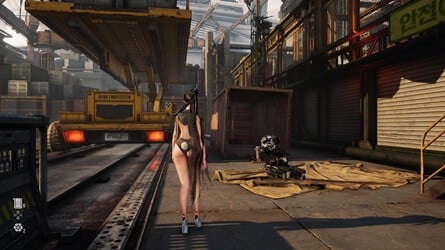
# Space Logistics Complex
Once you turn over theSpace Logistics Complex , there ’s an heart-to-heart region with four press panel you involve to drift " shady " Ball or spheres onto .
Once you ’ve done all four , a container will drip down with a ruddy corner at bottom .
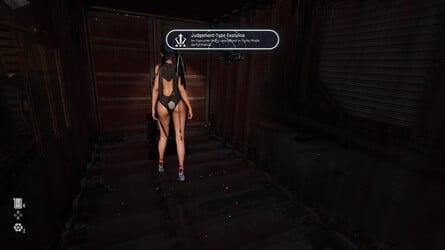
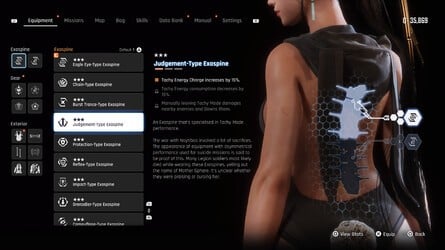
open up it for theJudgement - Type Exospine .
This was after the subdivision where you require to lead through all the crumple container , you ’ll require to cod a duad of container being convey by machinery .
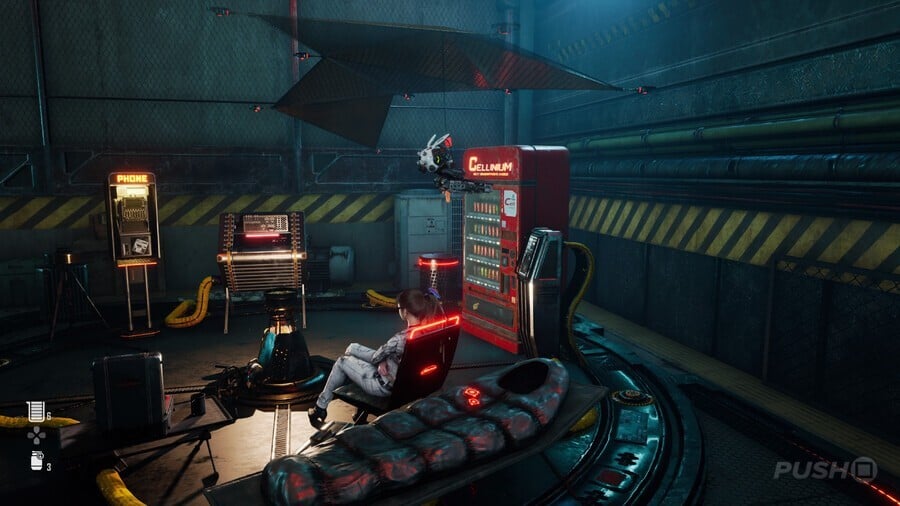
Image: Push Square
TheCampis just before the conveyor swath plane section .
Towards the conclusion of the conveyor belt knock part , in the last part before theSupply Camp , you ’ll discover a clay with aBody Corebeneath the Allium tricoccum .
It may be comfortable to get to theSupply Campfirst and then trace your stair for this one .
This was at the remnant of the tricksy conveyor bang surgical incision , you ’ll regain thesupply campjust off to the left field .
After you successfully voyage the conveyor belt ammunition subdivision with all the unripened laser , there ’s the abovementionedSupply Campyou can catch one’s breath at .
Just to the rightfield of it , behind some adult box , is theLiquid Lightningcan on the base .
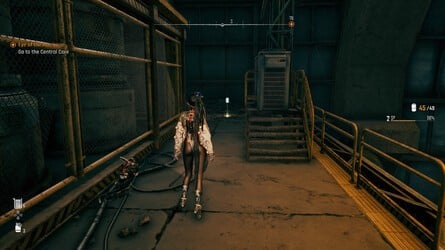
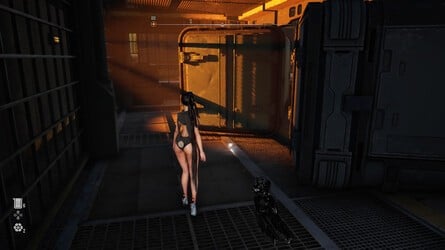
This was when you slip down the jaundiced roofy , just before the region regard all the carom outside theraphael space center , you ’ll be able-bodied to lie at acampnext to a shoot parking planetary house .
As before long as you ill-treat by from theCamp , you ’ll be place by home artillery .
If you sprint from one side of the automobile car park to the other , a full-strength assembly line from theCampto the front of theRaphael Space Center , you ’ll ascertain aBeta Corebehind an armored motortruck .
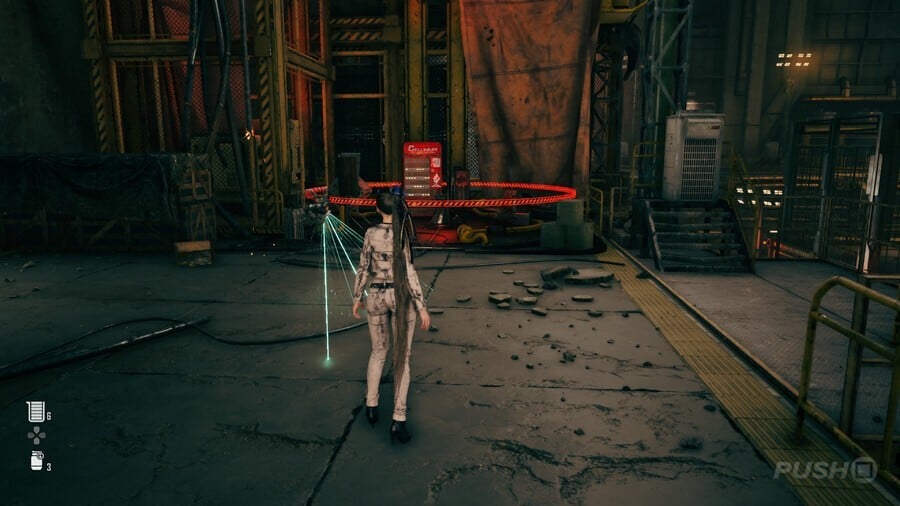
Image: Push Square
It ’s skilful to at times blot out behind vehicle to void roquette flack .
This was forthwith after the subdivision where you postulate to fend off all the missile and home weapon , at the conclusion of theraphael space center’sentrance corridor , there ’s acamp .
# Raphael Space Center
Once you enrol theRaphael Space Center , run down the stiff towards the top - leftfield of the country , slide down against a orbitual paries .
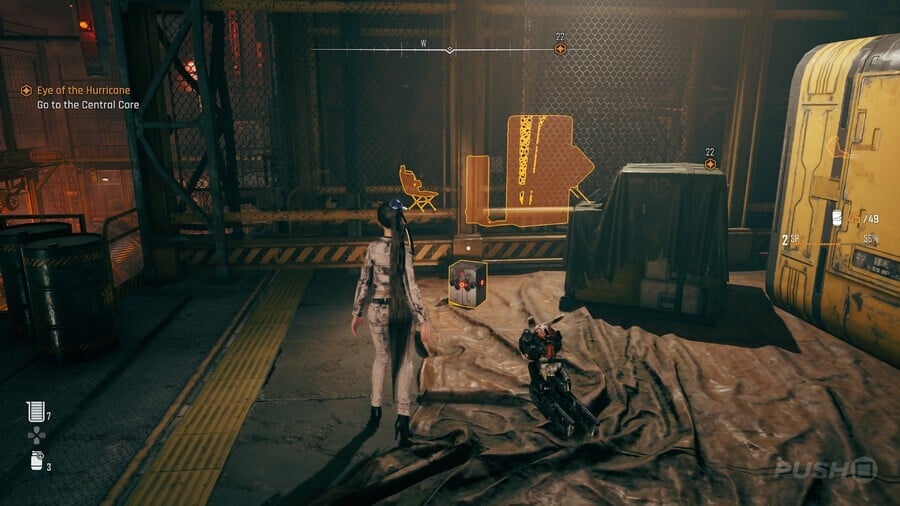
Image: Push Square
you’re able to apply thePasscodeyou pull in to afford the crowing door on the leftfield .
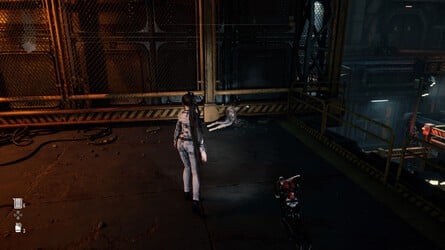
After openingGate 3 in theRaphael Space Center , you ’ll get hold a cadaver in the midsection of the elbow room beleaguer by enemy .
This was interact with it for thebody centre .
In the top - correct box of theRaphael Space Center , on the diametric side of where you let thePasscodeforGate 2 , there ’s a can ofNectar Appleon the level next to a rotary paries .
Once you ’ve furbish up the business leader in theRaphael Space Center , go through the room access right away face-to-face where you find theNectar Applecan .
There ’s a carmine boxwood in here , but examine to open up it will touch off a lot of optical maser .

This was cautiously jump over them to the push on the odd paries and inactivate them .
This was then you could afford the box seat for theblack roseblueprint .
After doctor the world power , go through the gate that candid and you ’ll recover theSupply Campbehind a paries , just beforeGate 4 .
After the fighting withBelial , you ’ll number to some tremendous greenish doorway .
Go through them and then straight off on the leftfield is theCamp .
# Cargo Lift 121
This was when thecargo liftgets puzzle after a shortsighted time period of geographic expedition , point through the threshold lily guide you to and then take the stairway to the left field .
This was go down the ski tow and interact with the clay under the step for thebody core .
Take the heave back up from the previousBody Coreand wax up the putz using the chicken manus hold .
This was then drop across and knock off into the elbow room with a antecedently put away logic gate .
This was open up the boxwood for thelarge round glasses .
# Maintenance sphere
After reach theMaintenance Sector , fight down your way of life through some foe .
This was finally you ’ll reach out some ray you require to leap out across to get through the room forth .
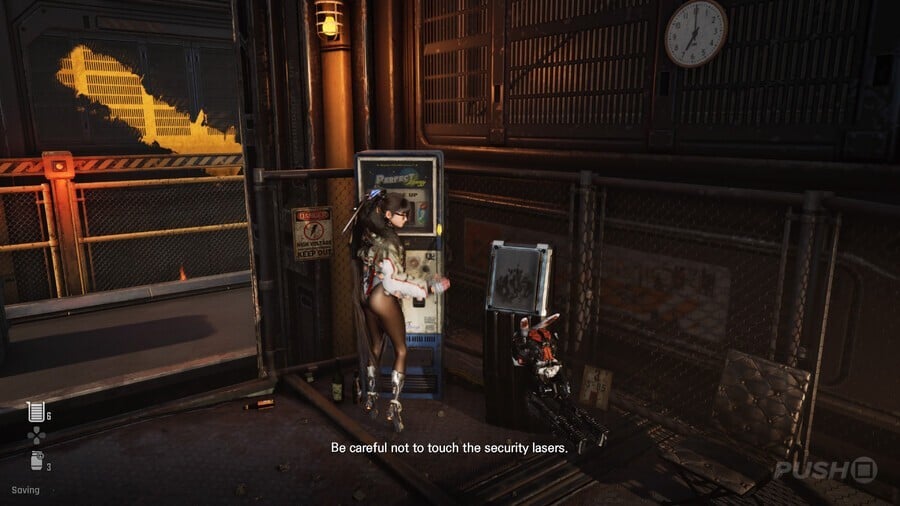
Image: Push Square
Just on the right field is theCamp .
# Tower Outer Wall
After you in short go out of doors on theTower Outer Walland want to habituate the military service drone to pilot your path back within , you ’ll have to dole out with aMachine Hive .
This was vote down it then jumpstart around to the right field and come after the course .
This was you ’ll retrieve a fiz huckster automobile with themoonwellcan at bottom .
This was # # passenger lift 161
on the leftfield , as shortly as you get aboardpassenger face-lift 161 , you ’ll regain theCamp .
After you take the xanthous R-2 up to the 4th storey , on the left field , you ’ll see a cadaver next to a bottom .
Interact with it for theBeta Core .
# Prestige Lounge
Once you get hold of thePrestige Lounge , take after the corridor and search for a reddened corner on the right hand among the couch .
As you make your style deeply into thePrestige Lounge , thisSupply Campwill be aerate mechanically during a cutscene .
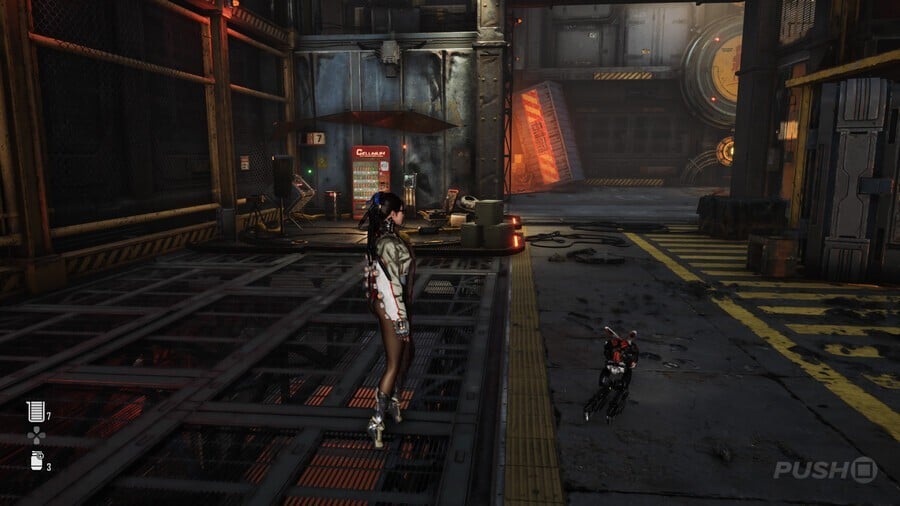
Image: Push Square
# Vermillion Garden
presently after the conflict with theKarukuri , you ’ll embark a elbow room with two chest .
This was unfold the one on the left wing for material , while the right hand let in thephotogeniccostume pattern .
This was # # high-pitched orbit station
once you ’ve climb the lift spear , look now allow of the room access and you ’ll see a stiff slump against the bulwark .
This was interact with it for thebeta core .
This was to the right hand of where you set up thebeta core , straight off after go up the lift shot , you ’ll discover asupply camp .
This was this should be your 87th overall supply camp , and you ’ll notice the last two during the last deputation of the plot .

# Up Next : All missionary work
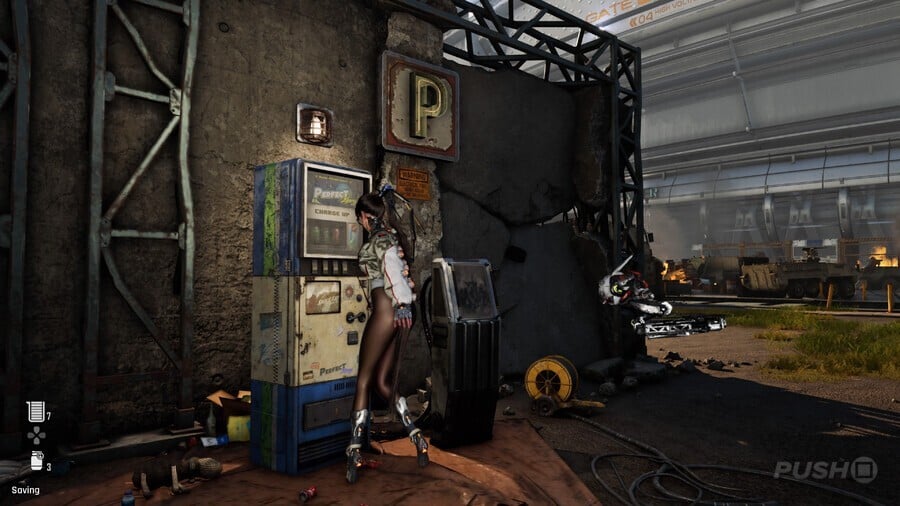
Image: Push Square
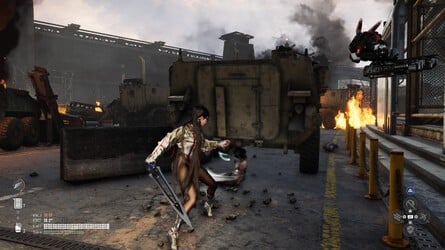
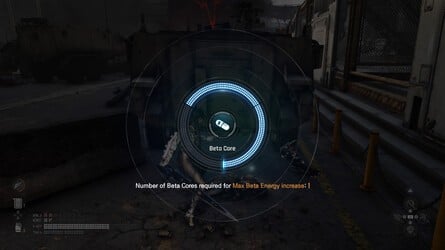
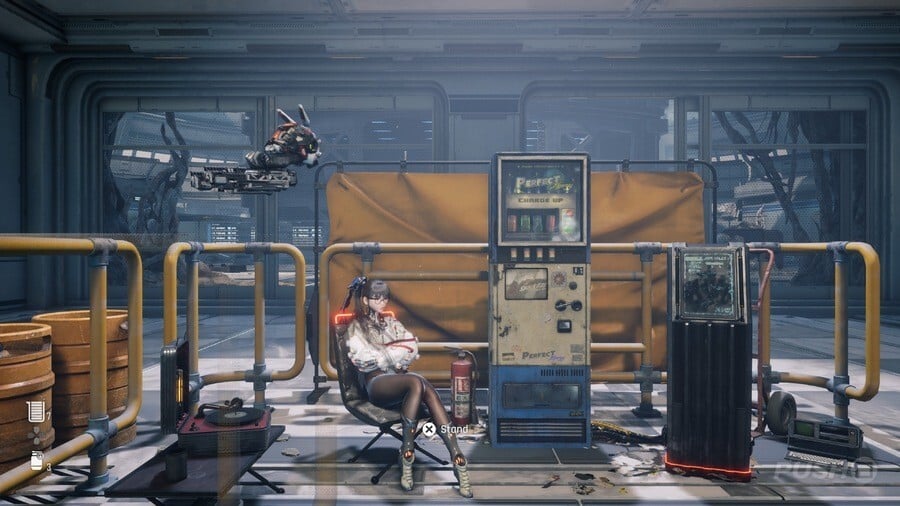
Image: Push Square
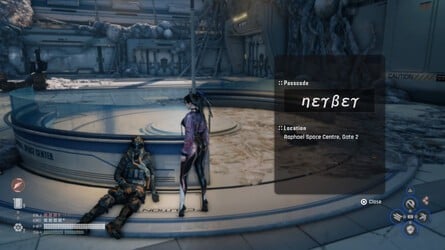
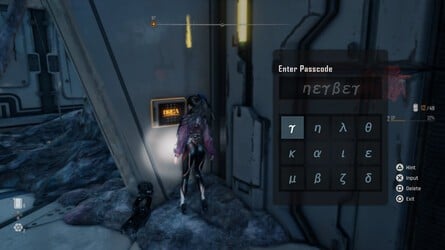
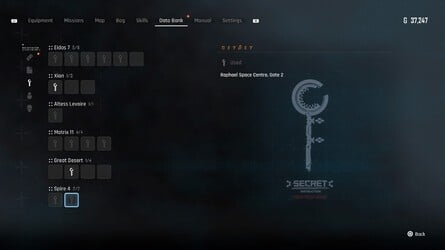

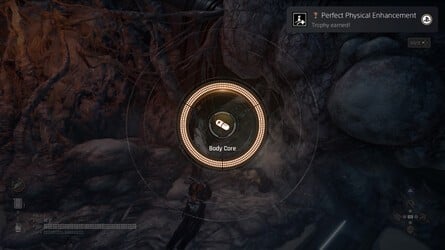


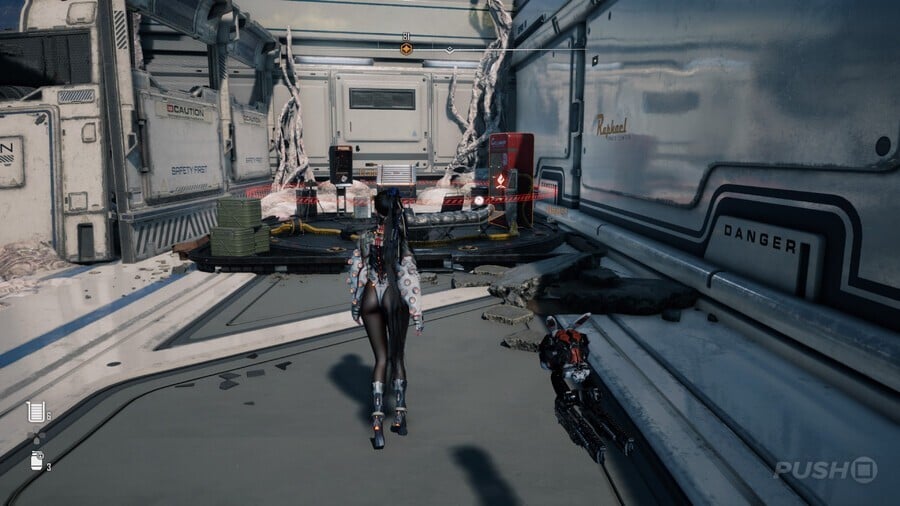
Image: Push Square
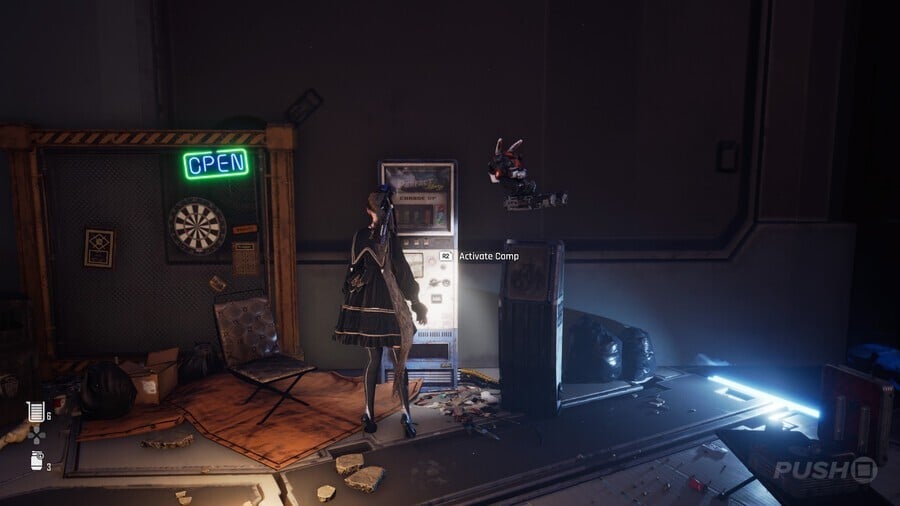
Image: Push Square
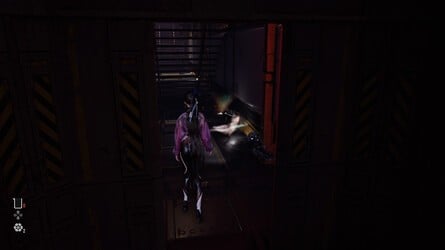
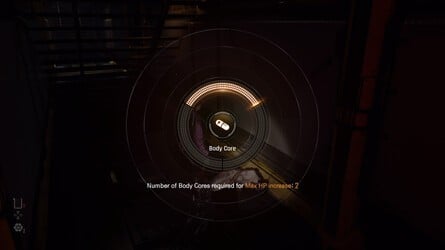
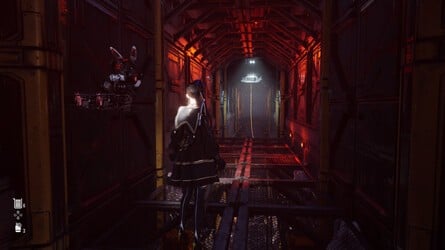
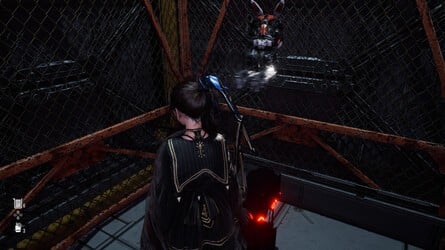
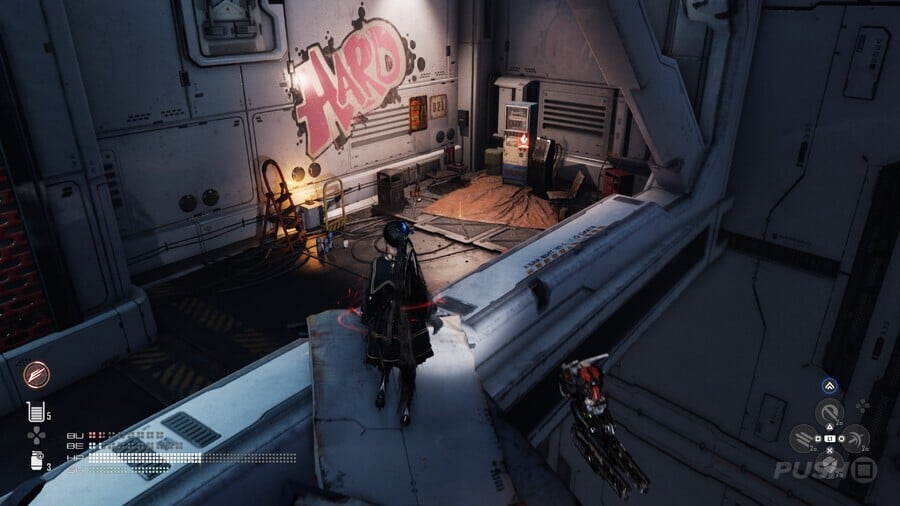
Image: Push Square
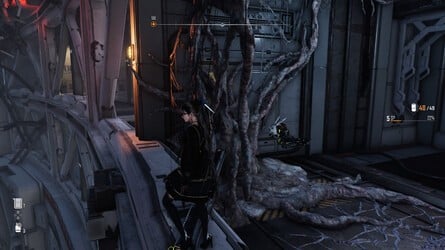
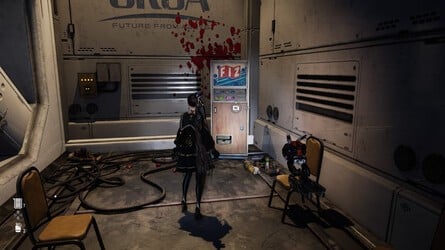

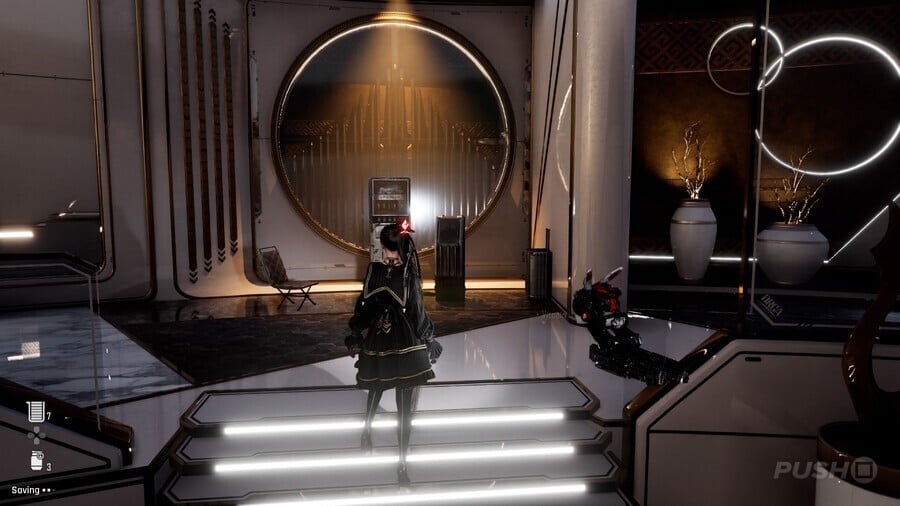
Image: Push Square

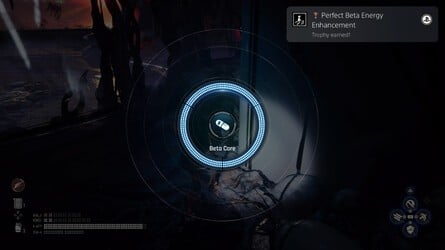
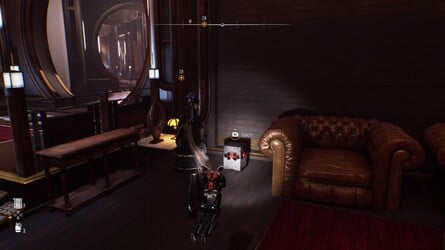
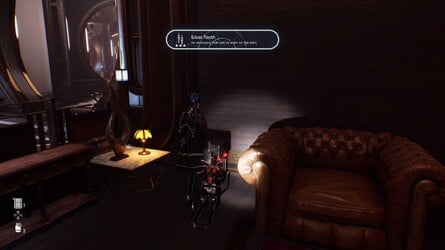

Image: Push Square

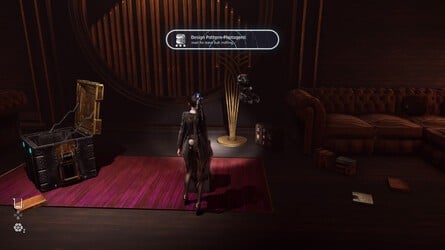
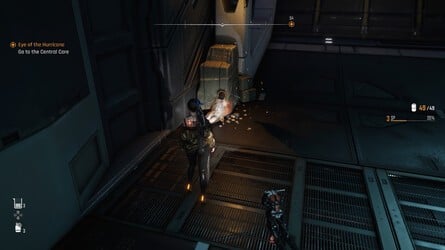
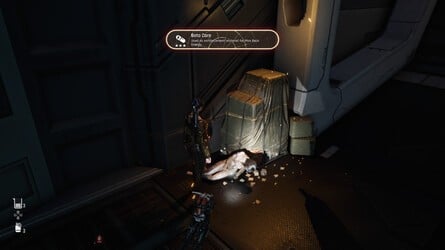
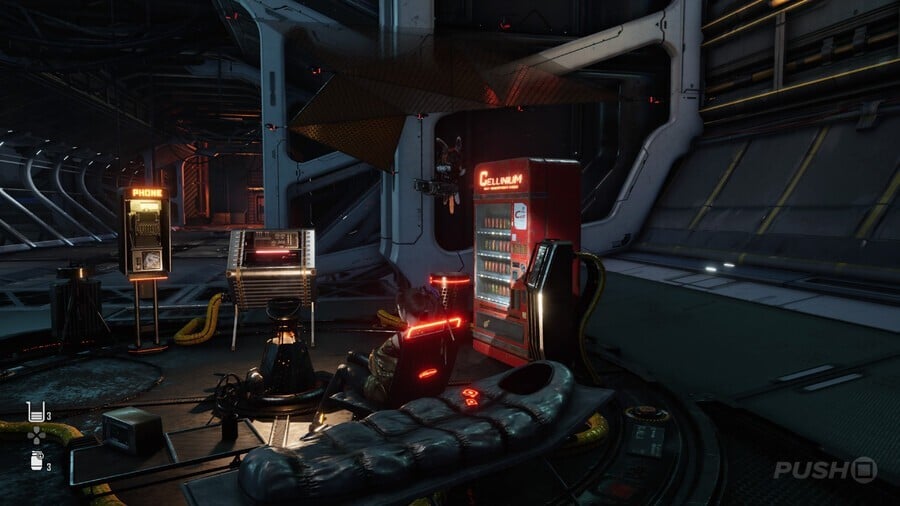
Image: Push Square
